
Do you ever look at your trusty tool chest and think it could use a bit of a lift? Maybe it has seen better days, or perhaps you just want it to show off a little more of your personality. That, you know, is where tool chest wraps come into the picture. These clever coverings can totally change the way your storage unit appears, offering both a fresh look and a layer of defense. It's almost like giving your workshop a small, yet very noticeable, upgrade.
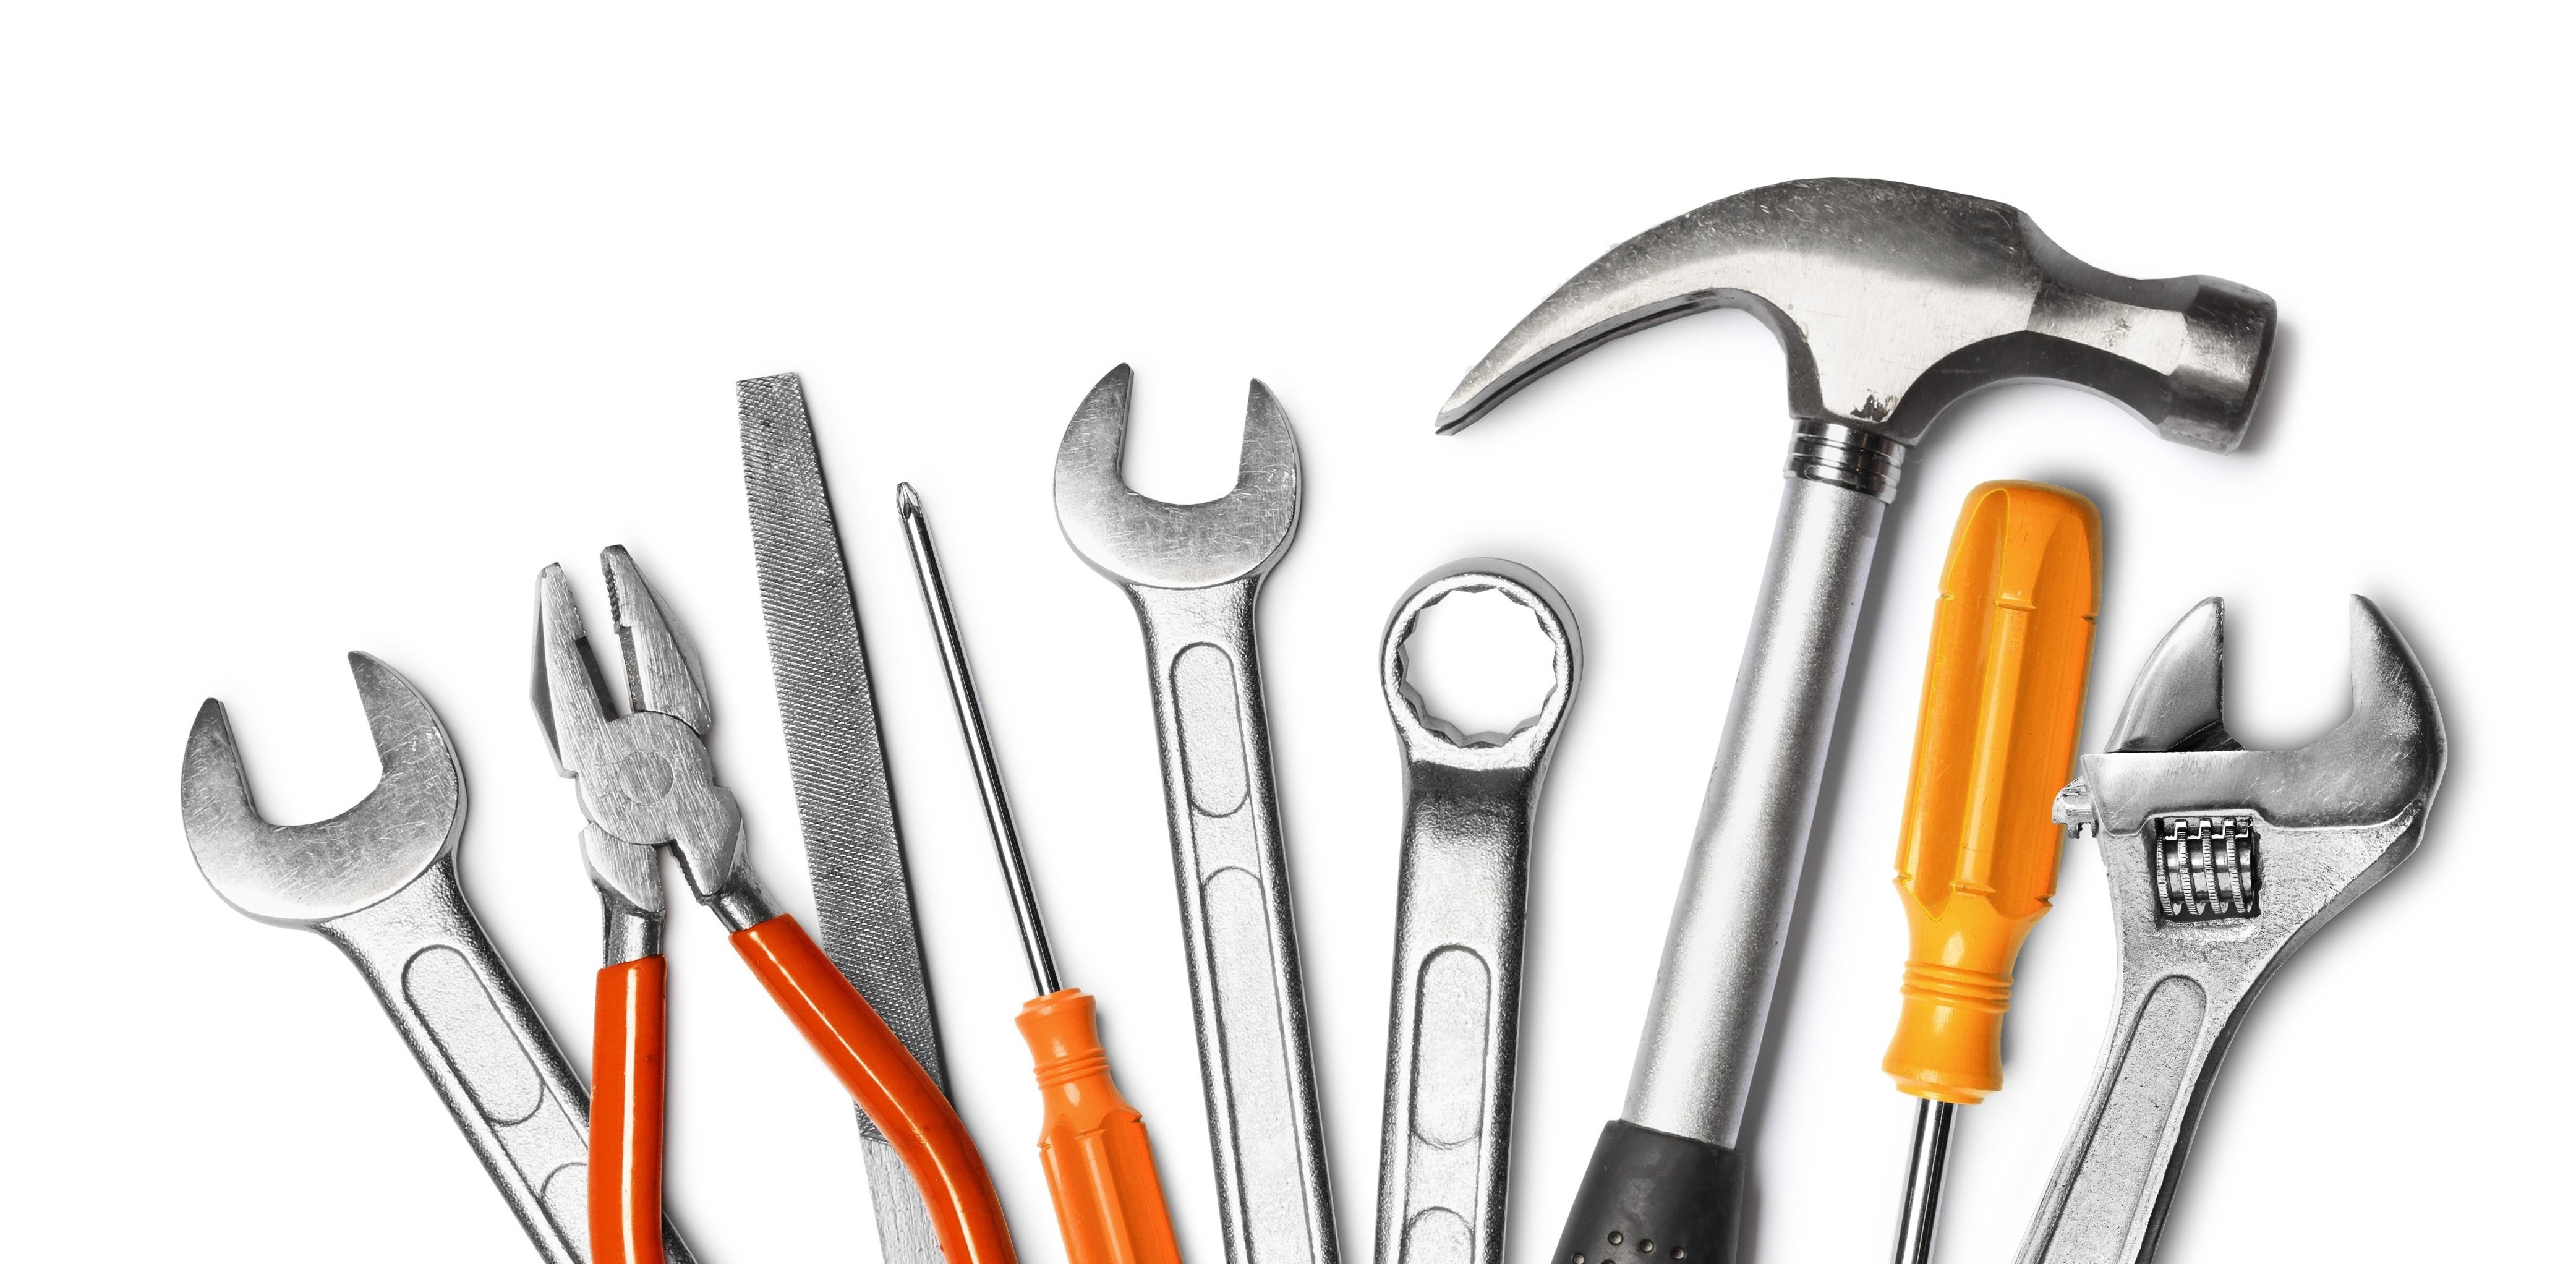
For many folks, a tool chest is more than just a place to keep wrenches, screwdrivers, or those various pliers you find at places like Harbor Freight Tools. It is, in a way, a central part of their work area. It holds the things that help them get tasks done, like a handheld device that aids in accomplishing a task. Keeping it in good shape, and looking good, is something many people care about, very much so.
So, if you are looking to protect your investment or just add some flair, thinking about tool chest wraps could be a smart move. They offer a unique way to personalize your space, and honestly, make your tools feel a little more at home. As a matter of fact, as of today, May 15, 2024, more people are looking for ways to customize their personal spaces, and this includes the spots where they work or pursue hobbies.
Table of Contents
- What Are Tool Chest Wraps?
- Choosing the Right Wrap for Your Chest
- Applying Your Tool Chest Wrap: A Step-by-Step Guide
- Maintaining Your Wrapped Chest
- Common Questions About Tool Chest Wraps
- Final Thoughts on Tool Chest Personalization
What Are Tool Chest Wraps?
Tool chest wraps are custom-made coverings. They are usually made from vinyl. You put these coverings on the outside of your tool chest. This changes its appearance. It can also add a layer of protection. Think of it like a big sticker, but much more durable. It is a way to give your metal box a whole new skin.
More Than Just Stickers
These wraps are not just simple stickers. They are often made from high-quality vinyl. This vinyl is made to last. It can stand up to a lot of wear. It is also quite resistant to things like oil or grease. This makes them good for a workshop setting. They are designed to fit the exact shape of your tool chest. This includes all its drawers and handles. So, you get a smooth, finished look. It's really quite impressive.
Why Consider a Wrap?
There are a few good reasons to think about a wrap. First, looks matter. A wrap can make an old, scratched chest look brand new. It can also match your garage's theme. Or it can just show off your favorite colors. Second, protection is key. The vinyl acts as a shield. It helps stop new scratches. It also keeps away minor dents. This helps keep your chest looking good for longer. Third, personalization is big. You can pick almost any design. You can have a pattern, a picture, or even your own logo. This makes your chest truly yours. It is, you know, a way to make your workspace feel more like you.
Choosing the Right Wrap for Your Chest
Picking the right wrap means thinking about a few things. You need to consider the material. You also need to think about the design. Both of these choices affect how the wrap looks. They also affect how long it lasts. It is a bit like choosing the right tool for a job. You want something that fits. You want something that works well. You want something that, basically, gets the job done.
Types of Materials
Most tool chest wraps use vinyl. But not all vinyl is the same. There are different kinds. Some vinyl is thicker. This means it offers more protection. It can also be a bit harder to work with. Other vinyl is thinner. This makes it easier to apply. It might not offer as much defense against bumps. You might find cast vinyl. This kind of vinyl is very flexible. It conforms well to curves. It also tends to last a long time. Then there is calendared vinyl. This is usually more affordable. It is good for flat surfaces. It might not last as long as cast vinyl. So, you have choices. You can pick what fits your needs. It really depends on what you want to achieve.
Design and Style Options
This is where the fun starts. The design choices are almost endless. You can get wraps with solid colors. You can find wraps with complex patterns. Some wraps look like carbon fiber. Others look like brushed metal. You can even get custom prints. Imagine your favorite sports team's logo. Or a cool abstract art piece. You could even have a wrap that looks like a classic hot rod. Or maybe something that reminds you of a band, like the way fans show their passion for Tool with their gear. The possibilities are, well, very wide open. You can truly make your chest unique. It is a way to express yourself. This is, you know, a pretty cool part of the whole process.
Applying Your Tool Chest Wrap: A Step-by-Step Guide
Putting a wrap on your tool chest might seem like a big job. But it is something you can do yourself. It just takes a little patience. And some careful work. You want to make sure you get it right. A good application makes the wrap look smooth. It also helps it last longer. So, take your time. Follow the steps. You will be happy with the outcome. It is, in a way, a rewarding project.
Getting Ready for the Wrap
Preparation is key. First, clean your tool chest. Make sure it is free of dirt. Remove any grease or oil. Use a good cleaner. Then, dry it completely. Any moisture can cause problems. It can make the wrap not stick well. Next, remove any hardware. Take off handles. Take off drawer pulls. This makes it easier to apply the wrap smoothly. You want a clean, flat surface. This helps the wrap lay down without bubbles. It is, basically, about setting yourself up for success. You might want to learn more about surface preparation on our site, as it applies to many projects.
The Application Process
Start with one section at a time. Do not try to do the whole chest at once. Peel back a small part of the wrap's backing. Line it up carefully. Press it down gently. Use a squeegee tool. This tool helps smooth out the wrap. It pushes out any air bubbles. Work slowly. Move from the center outwards. If you get a bubble, lift the wrap gently. Then re-apply it. For corners and edges, a heat gun can help. It makes the vinyl a bit more flexible. This helps it conform to the chest's shape. Be careful with the heat. You do not want to stretch the vinyl too much. Or burn it. It is a process that requires a steady hand. And, you know, a bit of focus.
After the Wrap is On
Once the wrap is applied, trim any excess. Use a sharp craft knife. Cut along the edges of the chest. Be precise. You want clean lines. Re-install all the hardware. Put the handles back on. Put the drawer pulls back. Take a step back. Admire your work. The wrap needs some time to fully stick. This is called curing. Avoid washing the chest for a day or two. This lets the adhesive set properly. It is, apparently, a small waiting game. But it is worth it for the finish.
Maintaining Your Wrapped Chest
Keeping your wrapped tool chest looking good is simple. Regular cleaning is a must. Use mild soap and water. A soft cloth works best. Avoid harsh chemicals. They can damage the vinyl. Do not use abrasive scrubbers. These can scratch the wrap. If you spill oil or grease, clean it right away. The vinyl is resistant, but stains can set in. You can also use a vinyl protector spray. This adds an extra layer of defense. It can help keep the colors bright. It also helps against UV rays. This stops the wrap from fading. So, a little care goes a long way. It helps your chest stay looking fresh. And, you know, ready for action.
Common Questions About Tool Chest Wraps
People often ask a few things about these wraps. Here are some common thoughts. We will try to answer them simply. This should help you decide if a wrap is right for you. It is, basically, about getting the facts straight.
Can I remove a tool chest wrap later?
Yes, you can remove a tool chest wrap. It is usually a straightforward process. You might need a little heat. A hairdryer can help. This softens the adhesive. Then you can peel the wrap off slowly. It should not leave much residue. Any sticky bits can be cleaned with a special adhesive remover. So, it is not a permanent change. You can always go back to the original look. Or, you know, put on a new wrap.
How long do tool chest wraps typically last?
The lifespan of a tool chest wrap varies. It depends on the vinyl quality. It also depends on how well it was applied. And how much wear and tear it gets. A good quality wrap, put on correctly, can last many years. Some can last five to seven years. Even longer if they are in a sheltered area. If your chest is outside, it might not last as long. The sun and weather affect it. But generally, they are quite durable. They are, in a way, built to endure.
Are tool chest wraps difficult to apply for beginners?
Applying a tool chest wrap can be a bit tricky for a first-timer. It requires patience. And a steady hand. But it is definitely doable. Many people do it themselves. Watch some videos online first. Get the right tools, like a squeegee. Start with a smaller, less visible part of the chest. This lets you get a feel for it. If you take your time, you can get a great result. It is, you know, a skill you can pick up.
Final Thoughts on Tool Chest Personalization
Giving your tool chest a fresh look with a wrap is a neat idea. It is a practical way to protect your equipment. It is also a fun way to show off your style. Whether you are a pro mechanic or a weekend hobbyist, your workspace matters. Making it your own can boost your mood. It can even make working on projects more enjoyable. Remember how important it is to have good tools? The meaning of tool is a handheld device that aids in accomplishing a task. Well, protecting those tools and their storage is just as important. Just like you can find great deals on assorted tool sets, you can find wraps that offer great value. You can find wraps that suit your taste. You can check out places that sell vinyl wrapping materials to see the wide range of choices available today. You might also want to check out this page for more custom garage ideas. It is, basically, about making your space work for you. And look good doing it.


Detail Author:
- Name : Prof. Luigi Schneider III
- Username : lauretta55
- Email : emard.gwendolyn@yahoo.com
- Birthdate : 1997-10-01
- Address : 1014 Grimes Stream Apt. 766 South Zelmaburgh, CT 73775-3083
- Phone : 1-929-612-3468
- Company : Glover Ltd
- Job : Potter
- Bio : Repellendus sequi dolores quae et dolores. Maxime facere et qui minima. Nobis nemo facilis et pariatur odio aliquam. Aut quia soluta rerum.
Socials
linkedin:
- url : https://linkedin.com/in/troy_real
- username : troy_real
- bio : Id eaque itaque animi corporis.
- followers : 5345
- following : 2727
twitter:
- url : https://twitter.com/troybergnaum
- username : troybergnaum
- bio : Est et est earum et aut. Officiis soluta autem libero ab deserunt exercitationem. Corporis eum alias adipisci iure sunt occaecati.
- followers : 379
- following : 834
tiktok:
- url : https://tiktok.com/@troy_dev
- username : troy_dev
- bio : Non consectetur sed quia eos nesciunt.
- followers : 1925
- following : 850
facebook:
- url : https://facebook.com/tbergnaum
- username : tbergnaum
- bio : Maiores qui aut unde quis soluta eos. Dolorem et aliquid et eos consequatur.
- followers : 5346
- following : 2170
