
Ever dreamed of stepping into the shoes of Hyrule's legendary hero, Link? So, making a Link costume yourself, a DIY project, can be a really fun and rewarding experience. It lets you bring a beloved character to life with your own hands, which is pretty neat. It's not just about wearing a costume; it's about connecting with the spirit of adventure and, you know, showing off your creative side.
There's a certain magic, too, in putting together something unique, something that truly reflects your passion for the games. You might find that the process of gathering materials and putting pieces together feels a bit like a quest itself, actually. It’s a chance to use your ingenuity and, perhaps, even learn some new crafting skills along the way, which is always a plus.
This guide will walk you through everything you might need to know to create an amazing Link costume DIY. We'll look at choosing the right materials, putting the different parts together, and adding those small, yet important, details that make the whole outfit truly special. It's about empowering yourself to create something cool, something you can share with others, much like sharing a really great idea or, say, a cool project you've been working on.
Table of Contents
- Why Make Your Own Link Costume?
- Getting Started: Planning Your Link Costume DIY
- Crafting the Core Pieces
- Essential Accessories: Bringing Link to Life
- Tips for a Perfect Finish
- Frequently Asked Questions
Why Make Your Own Link Costume?
Making a Link costume DIY is more than just putting on an outfit; it’s an experience. There are, you know, several really good reasons why someone might choose to craft their own hero's attire rather than just buying one off the shelf. It’s a chance to really get into the character, and that's pretty cool.
Cost Savings
For one thing, creating a Link costume DIY can often save you quite a bit of money. Store-bought costumes, especially those with good detail, can be rather pricey, and sometimes, they just don't quite hit the mark in terms of quality or look. By sourcing your own materials, you get to control the budget, which is, you know, a big plus for many people. You can often find great deals on fabric and other bits if you look around, which helps a lot.
Personal Touch
Then there's the personal touch. When you make a Link costume DIY, you're not just assembling pieces; you're infusing it with your own creative spirit. You get to choose the exact shade of green for the tunic, the specific texture for the belts, and the way the shield looks. This means your costume will be, well, truly one of a kind, a reflection of your own vision, and that's something you can be proud of.
The Joy of Creation
There's a real sense of accomplishment that comes from building something with your own hands. Finishing a Link costume DIY can feel a bit like, say, completing a big quest in a game. You've faced challenges, learned new things, and created something tangible and wonderful. It's a very rewarding feeling, and you get to wear your hard work, too.
Getting Started: Planning Your Link Costume DIY
Before you even pick up a pair of scissors, a little planning goes a long way. This initial stage is, you know, like finding the right map before you set out on an adventure. It helps ensure your Link costume DIY project runs smoothly and that you end up with something truly fantastic. It’s about getting your thoughts in order, really.
Choosing Your Link Version
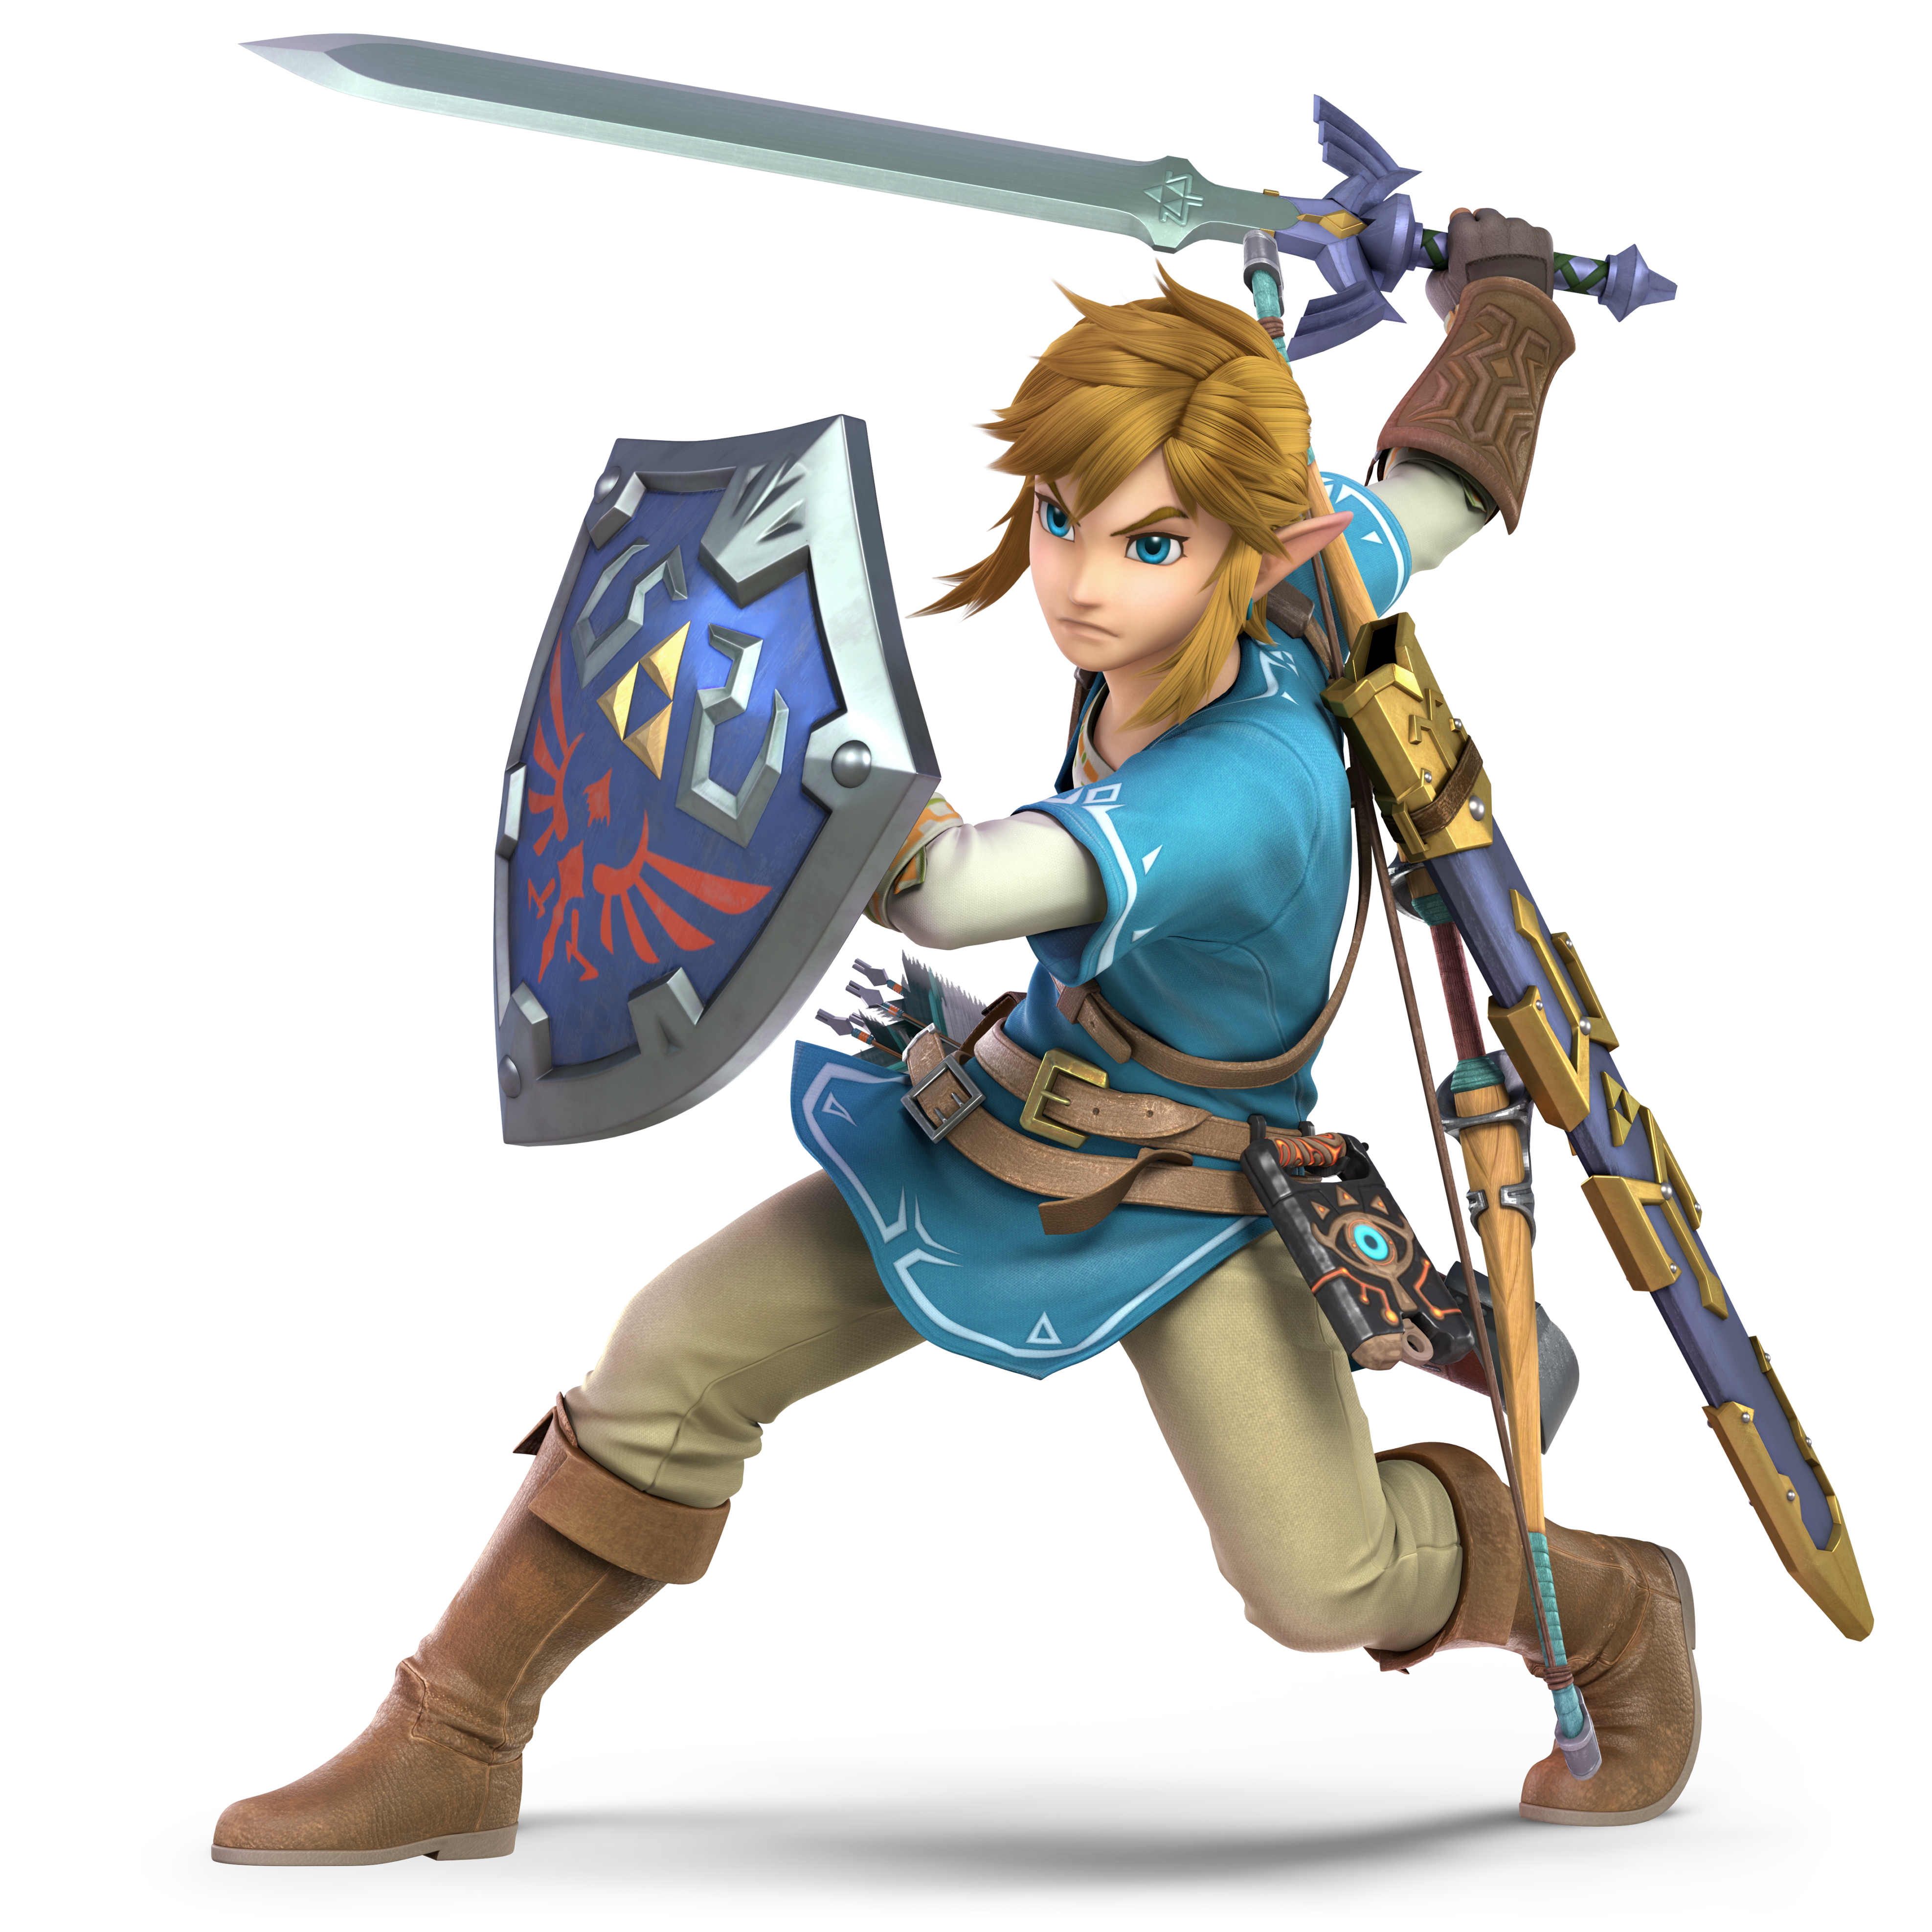
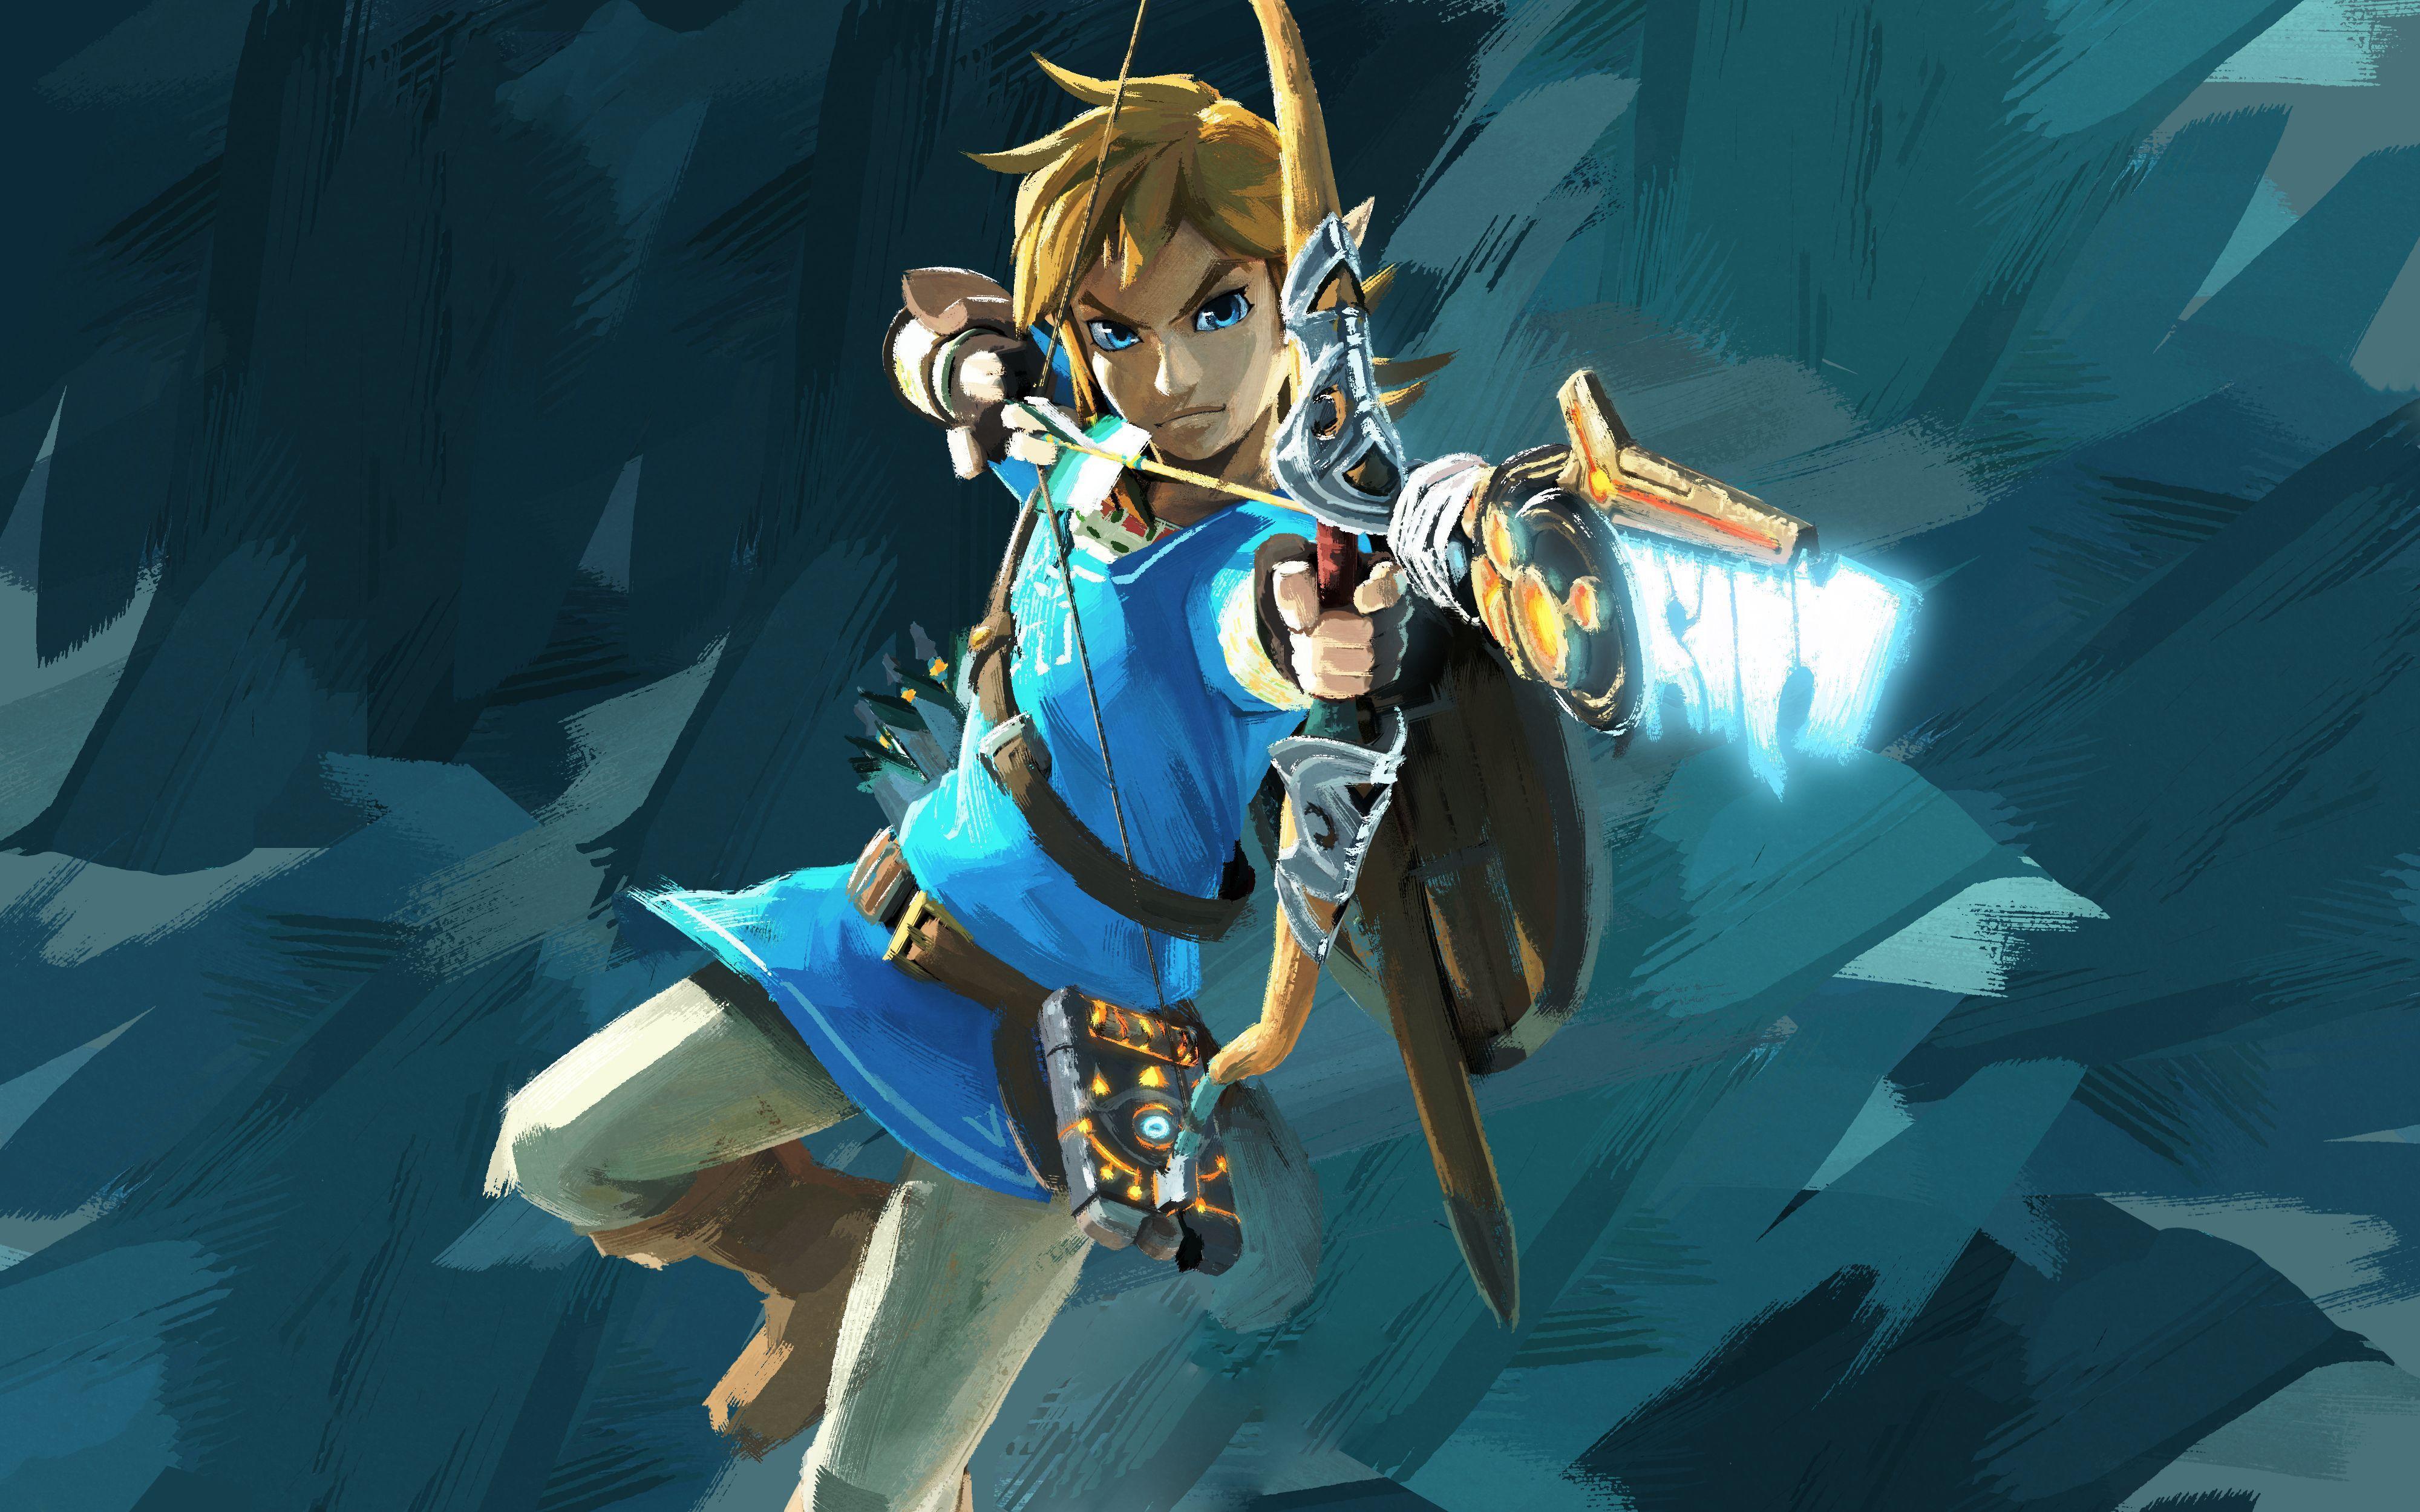
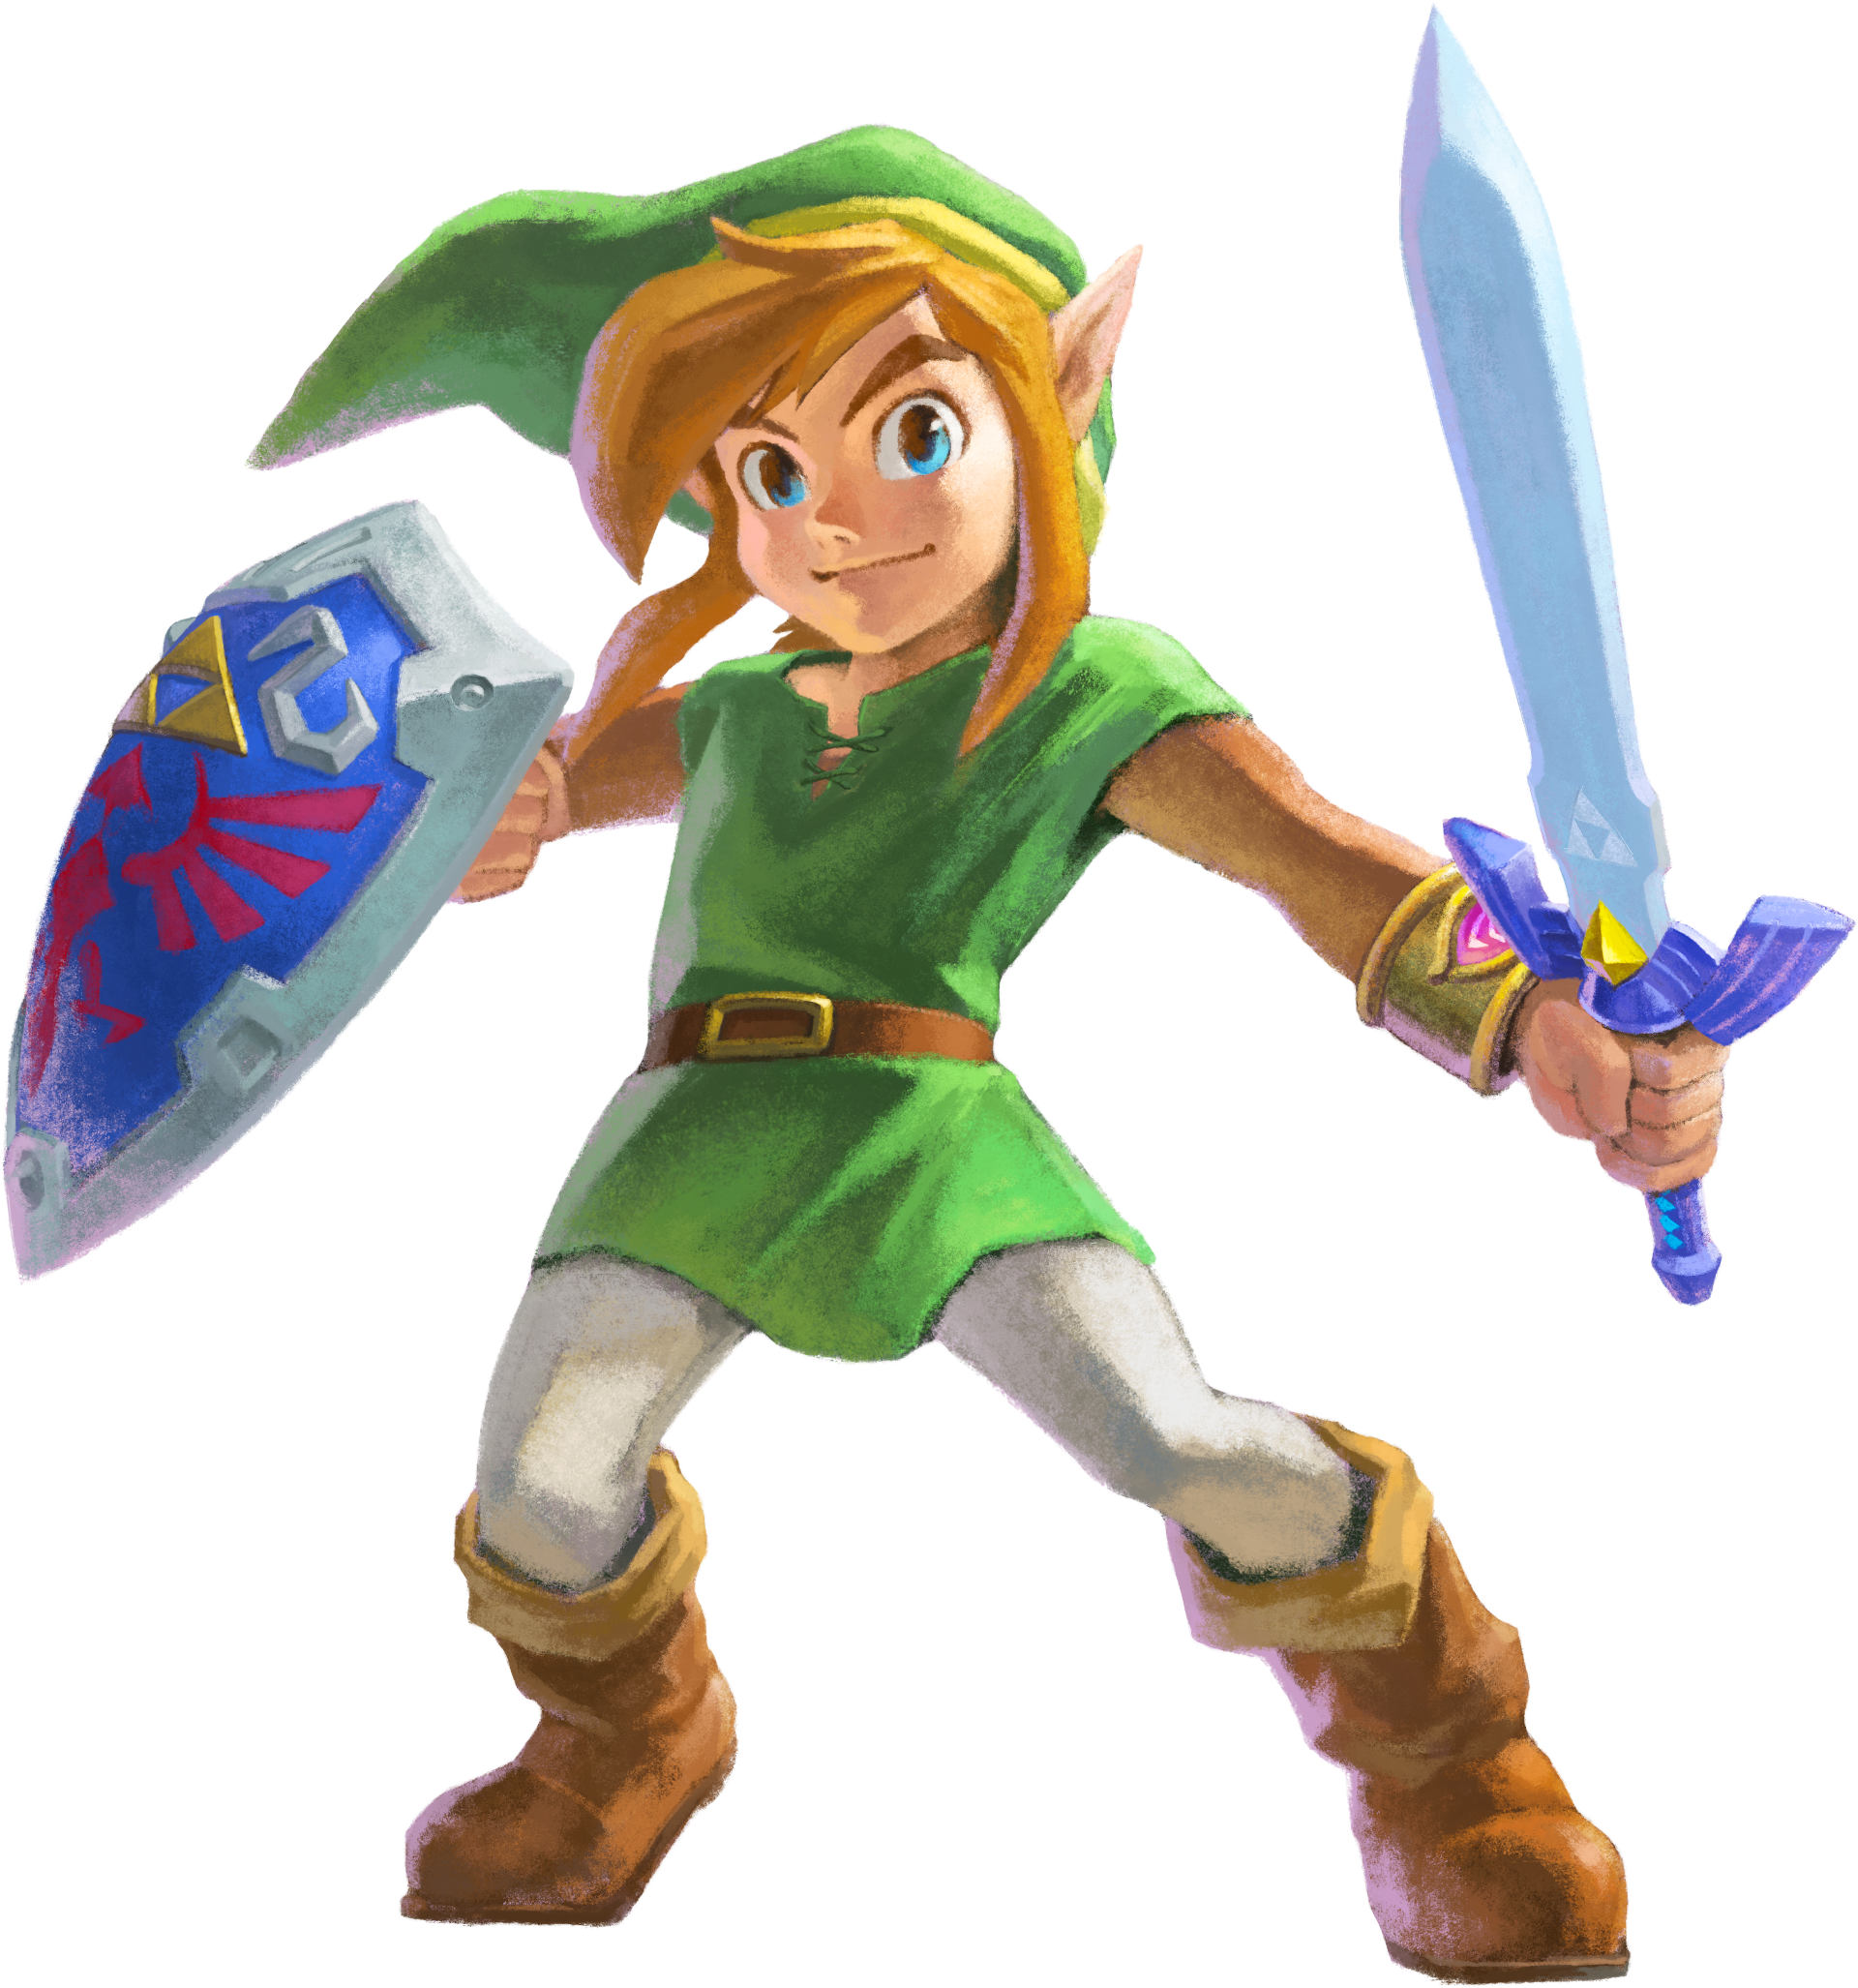
Link has, you know, appeared in many forms throughout the games, from the classic green tunic of Ocarina of Time to the champion's garb in Breath of the Wild. Deciding which version of Link you want to embody is a pretty important first step for your Link costume DIY. Each version has its own distinct look and, you know, different details that will affect your material choices and the crafting process. Think about which one resonates most with you, perhaps the one you feel the strongest connection to.
Gathering Your Supplies
Once you know which Link you're aiming for, it's time to gather your materials. This is, in a way, like collecting items for a recipe. Having everything ready before you start can save you a lot of time and, you know, prevent interruptions later on. Make a list of everything you think you'll need for your Link costume DIY, from fabric to prop making supplies. You might even find some useful items already around your home.
Fabric Choices
For the tunic, a sturdy, breathable fabric like cotton twill or linen works very well, giving it that classic, somewhat rustic feel. For belts and pouches, you'll want something that holds its shape, like faux leather or even a heavy canvas. The hat, too, will need a fabric that can stand up, perhaps a felt or a stiffer cotton. Think about how the fabric will drape and move, as that's pretty important for the overall look of your Link costume DIY.
Prop Materials
For the Master Sword and Hylian Shield, lighter materials like EVA foam or even sturdy cardboard are, you know, excellent choices. These are easy to cut and shape, and they're also safe for conventions or parties. You'll also need paints, glues, and maybe some sealants to give your props a really professional finish. Consider how you'll attach any emblems or details, too, as that's part of the magic of a good Link costume DIY.
Crafting the Core Pieces
With your plan in place and your supplies gathered, it's time to start bringing your Link costume DIY to life. This is where the real fun begins, really, as you start to see the character take shape before your eyes. Patience and, you know, a bit of attention to detail will be your best friends here.
The Tunic
The green tunic is, you know, arguably the most recognizable part of Link's outfit. For your Link costume DIY, you'll want to find a simple tunic pattern or, if you're feeling brave, draft one yourself. Look for a pattern that has a loose fit and, perhaps, a slightly longer back. You can often adapt a basic shirt pattern by making it wider and longer. Remember to leave enough room for movement, as Link is, after all, a very active hero. A comfortable tunic is, you know, pretty important.
Once you have your pattern, cut your chosen green fabric. Sew the shoulder seams first, then the side seams. You'll likely want to hem the bottom and the sleeves for a neat finish. Some versions of Link have a brown undershirt or sleeve detail; you can add these by sewing on separate pieces of brown fabric or by wearing a brown shirt underneath. This adds, you know, a layer of authenticity to your Link costume DIY.
The Hat
Link's iconic green hat is, you know, a pretty simple cone shape that flops over at the top. For your Link costume DIY, you can create a pattern by drawing a large triangle with a curved base. The base should be long enough to fit around your head, plus a little extra for seam allowance. Cut two pieces of your green fabric for the hat.
Sew the two pieces together along the long, straight edges, forming a cone. Then, hem the bottom edge. You might want to add a bit of interfacing or a stiffer fabric lining to the inside to help the hat hold its shape, especially if you want it to stand up a bit before flopping. This small detail, you know, makes a big difference for your Link costume DIY.
Belts and Pouches
Link usually has a few belts and pouches, which are both functional and, you know, add to his adventurer look. For your Link costume DIY, you can use faux leather strips for the belts. Measure around your waist and chest to get the right lengths. You might need a wider belt for the main waist piece and thinner ones for any cross-body straps.
For the pouches, you can sew simple rectangular bags from faux leather or canvas. Attach them to the belts using loops or by sewing them directly on. Think about what Link might carry in his pouches—maybe some rupees, or, you know, a few small items you might need yourself. Adding buckles and metal rings can give them a more authentic feel, too, which is, you know, a nice touch for your Link costume DIY.
Essential Accessories: Bringing Link to Life
The core pieces are important, but it's the accessories that truly, you know, complete the transformation into the hero of Hyrule. These are the details that make your Link costume DIY recognizable and really special. They are, in a way, the "product key" that unlocks the full potential of your costume, making it ready to be "used" and enjoyed.
The Master Sword and Hylian Shield
No Link costume DIY is complete without his legendary sword and shield. For the Master Sword, you can cut the blade and hilt shapes from EVA foam. Layering the foam can give it a more three-dimensional look. Use a craft knife for clean cuts. For the Hylian Shield, draw the iconic shape onto a large piece of EVA foam or sturdy cardboard. Cut it out and, you know, add a handle on the back using straps or more foam.
Once shaped, paint both props with acrylic paints. The Master Sword typically has a blue hilt and a silver blade, while the Hylian Shield features the Triforce and the Hylian Crest. Seal them with a clear coat to protect the paint and give them a more durable finish. These props are, you know, pretty central to the whole look, so take your time with them.
Boots and Gauntlets
Link's boots are usually brown and somewhat rugged. For your Link costume DIY, you can either find a pair of brown boots that are similar in style or, you know, cover an existing pair of boots with brown fabric or faux leather. You might even add some faux fur or fabric cuffs at the top, depending on the Link version you chose. Comfort is key here, too, as you'll likely be walking around quite a bit.
Gauntlets, or arm guards, can be made from faux leather or foam. Cut strips that wrap around your forearms and secure them with Velcro or snaps. You can add decorative stitching or, you know, small metal studs for extra detail. Some versions of Link have a single gauntlet, while others have two. Choose what fits your chosen look, as that's, you know, part of making your Link costume DIY feel right.
Ears and Wig
Link's pointy ears are, you know, a defining feature. You can buy pre-made elf ears from costume shops or online. These usually slip over your own ears and can be blended with makeup to match your skin tone. If you're going for a more accurate look, a blonde wig is also a good idea. Link's hair length varies, so pick a wig that matches your chosen version. You might need to style it a bit, perhaps, to get that windswept or slightly messy look, which is, you know, part of his charm. Learn more about Link costume creation from other guides.
Tips for a Perfect Finish
After assembling all the pieces, a few final touches can really, you know, elevate your Link costume DIY from good to truly amazing. These are the small details that show you've put thought and effort into your creation, making it truly stand out. It’s about, well, making it look lived-in and real.
Weathering and Detailing
Link is an adventurer, so his clothes and gear shouldn't look brand new. Adding some weathering can give your Link costume DIY a more authentic, battle-worn appearance. You can use watered-down brown or black paint to create dirt and grime effects on the fabric. Lightly scuffing the boots and shield with sandpaper can also, you know, make them look more used. Think about where Link would get dirty or where his gear would show wear and tear, and apply those details accordingly. This step, you know, really adds character.
Comfort and Mobility
While looking good is important, being able to move freely in your Link costume DIY is, you know, equally vital. Make sure your tunic isn't too tight, and that your belts don't dig in. If you're planning to wear it for a long time, consider the weight of your props and how they'll be carried. You might want to add extra padding to shoulder straps or, you know, adjust the fit of certain pieces. A comfortable hero is, after all, a happy hero.
Sharing Your Creation
Once your Link costume DIY is complete, you'll probably want to share your hard work with others! You can take some great photos and, you know, post them online. It's a lot like how you might share a document or a spreadsheet with a simple link, allowing others to see what you've created, no matter how big or small the project. This way, you can connect with other fans and, you know, inspire them to start their own crafting adventures. Learn more about creative projects on our site, and you can also find more inspiration on this page for your next DIY endeavor.
Frequently Asked Questions
People often have questions about making their own Link costumes. Here are some common ones that might help you with your Link costume DIY project, too.
How long does it typically take to make a Link costume DIY?
The time it takes really varies a lot, you know, depending on your crafting experience and the complexity of the Link version you choose. A simpler tunic and hat might take a weekend, while a more detailed costume with props and armor could, you know, take several weeks of dedicated work. It's a bit like, say, planning a big event; the more details you want, the more time you'll need.
What are some good ways to make the Master Sword and Hylian Shield look realistic without using heavy materials?
For realism without weight, EVA foam is, you know, your best friend. Layering different thicknesses of foam can create a really nice, dimensional look. Using a heat gun to gently shape the foam can also give it a more organic feel. After painting, applying a matte or satin clear coat can, you know, mimic the look of metal or wood without adding any real weight. You can also add very subtle weathering for that, you know, "used in battle" appearance.
Are there any tips for making the costume comfortable for long wear, like at a convention?
Absolutely! Comfort is, you know, super important. Choose breathable fabrics like cotton or linen for the main garments. Make sure all seams are smooth and don't rub. If you're wearing boots, break them in beforehand. For props, ensure they're lightweight and have comfortable straps or handles. It's also a good idea to, you know, wear the costume for a short period at home before a big event, just to check for any pinch points or uncomfortable spots. You want to be able to enjoy yourself, after all.
Detail Author:
- Name : Esther Von Jr.
- Username : shields.earline
- Email : wilburn.hand@yahoo.com
- Birthdate : 2000-11-30
- Address : 8057 Demario Lakes Port Adaline, WY 86222-3477
- Phone : +1 (458) 267-8638
- Company : Witting-Mills
- Job : Credit Checker
- Bio : Quos qui maiores cumque neque totam molestiae. Et dolore quo temporibus est quo. Explicabo perferendis ut saepe iusto ut hic. Est est facere molestias vel.
Socials
twitter:
- url : https://twitter.com/tomasarodriguez
- username : tomasarodriguez
- bio : Libero in voluptatem repellendus vel. Laudantium debitis dolor quae iste. Rem quas libero eligendi porro nihil sint. Quod iste id ex laboriosam saepe earum.
- followers : 5460
- following : 2938
tiktok:
- url : https://tiktok.com/@trodriguez
- username : trodriguez
- bio : Earum odit libero voluptatem. Harum molestiae earum natus atque.
- followers : 4474
- following : 2518
linkedin:
- url : https://linkedin.com/in/tomasa_official
- username : tomasa_official
- bio : Qui ea sed laudantium explicabo.
- followers : 6146
- following : 2752
