
Sublimation crafting, you know, is a really fun and useful technique that creates amazing, lasting designs. It is, in a way, a bit like magic, watching your designs transfer from paper to a blank item. Yet, for all its creative promise, getting those prints just right can sometimes feel like a puzzle. You might get a faded image, or perhaps something looks a little burnt, and that is certainly not what anyone wants after putting in the effort.
The secret to avoiding those frustrating moments, you see, often comes down to two very important things: the right amount of heat and the correct duration. These two elements work together, almost like a perfect dance, to make sure your design properly transfers. Without the right balance, your beautiful artwork might not come out as sharp or as vibrant as you pictured it, and that can be a real bummer for any crafter.
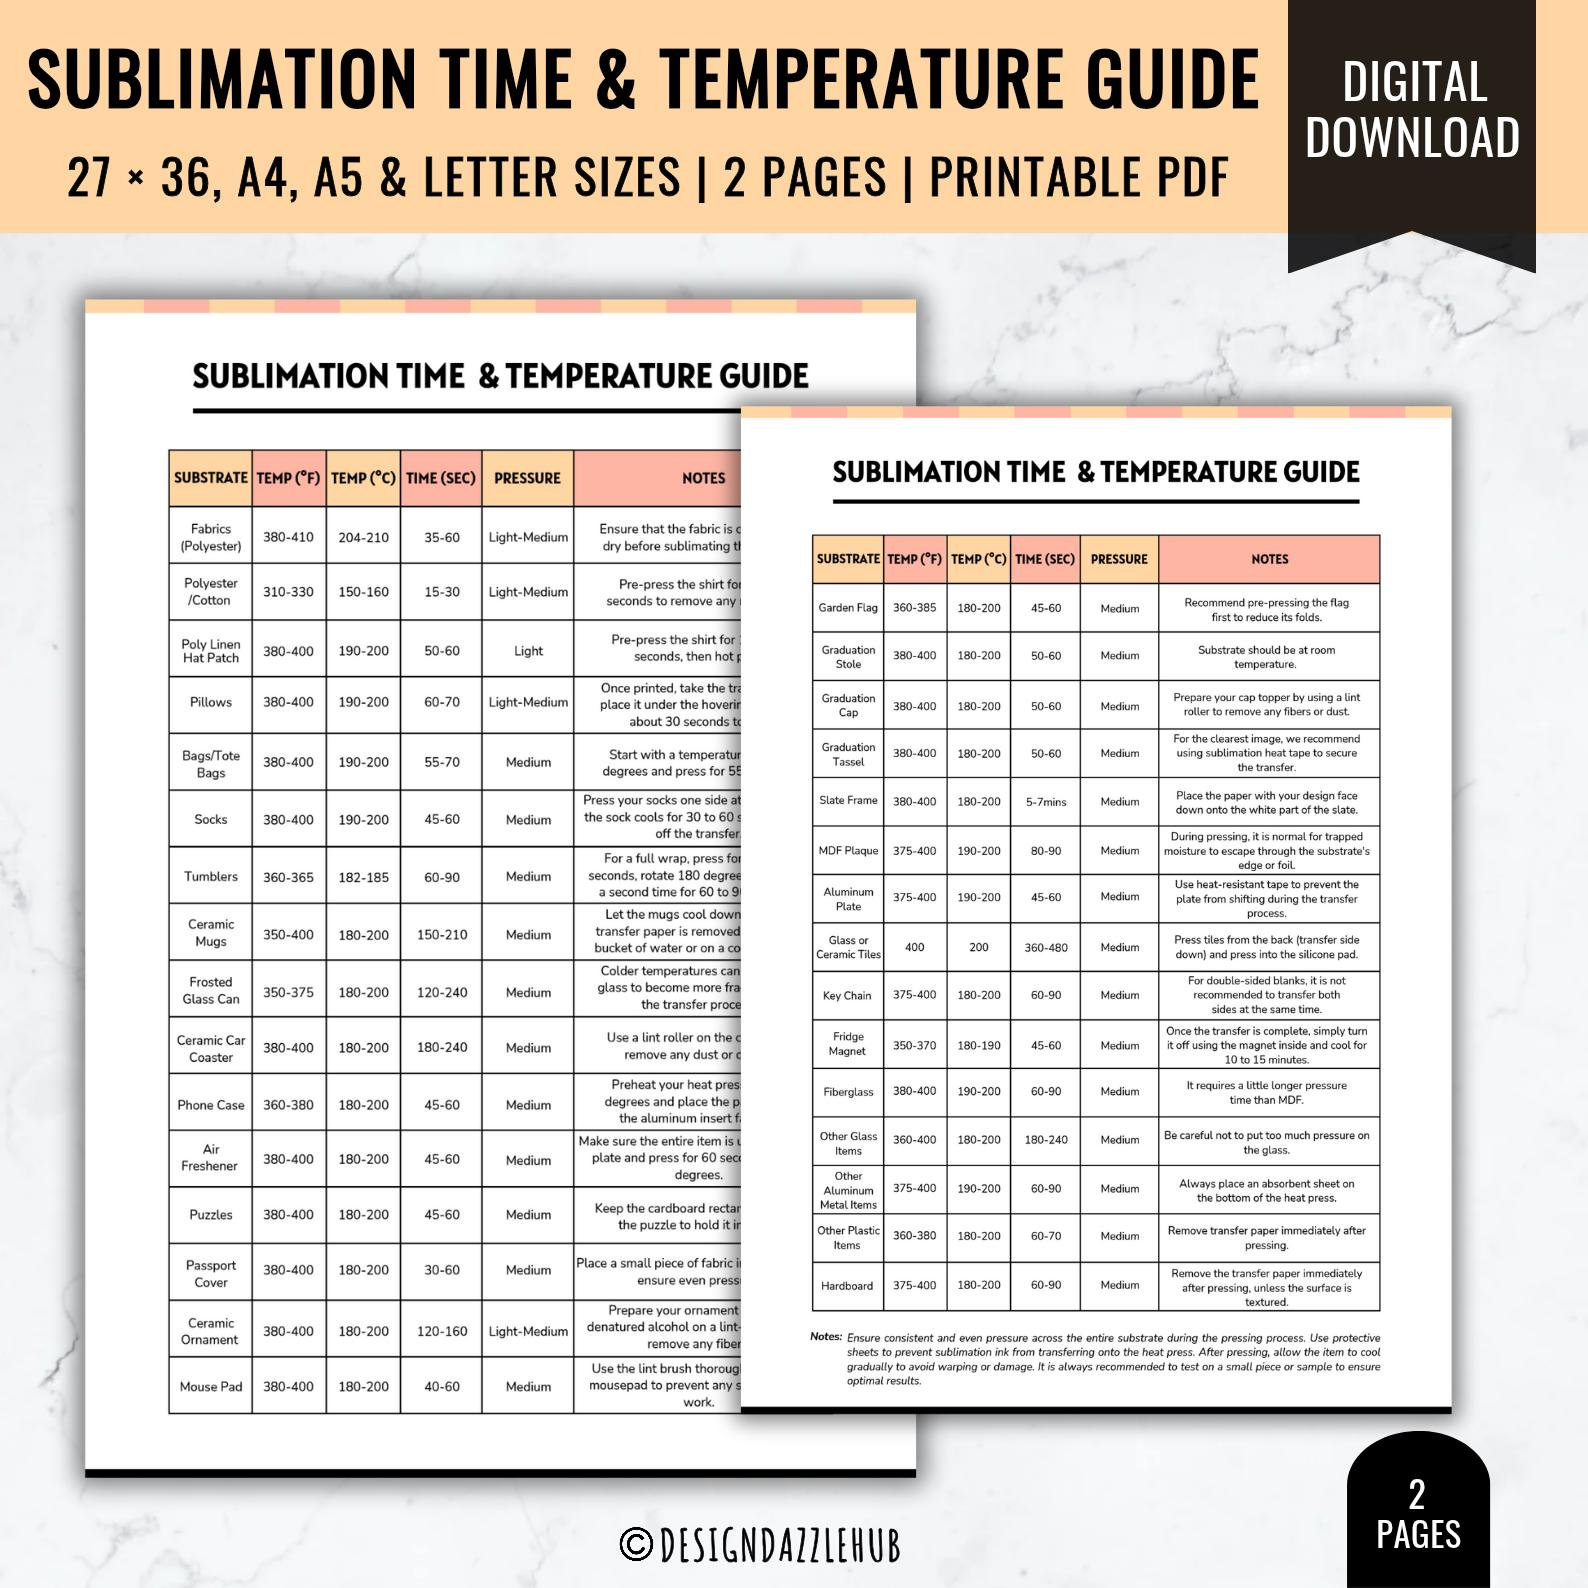
This article is here to help you get those settings spot on, every single time. We will, in fact, go through everything you need to know about a reliable **sublimation time and temperature chart**. This chart, you will find, is your best friend for achieving prints that look professional and truly pop. It is all about giving your creative projects the best chance to shine, making sure your effort pays off with fantastic results.
Table of Contents
- What is Sublimation?
- Why You Need a Sublimation Time and Temperature Chart
- Understanding Your Heat Press
- Factors Affecting Sublimation Settings
- Your Go-To Sublimation Time and Temperature Chart
- Tips for Perfect Sublimation Results
- Troubleshooting Common Sublimation Issues
- Maintaining Your Sublimation Equipment
- Frequently Asked Questions
What is Sublimation?
Sublimation, you know, is a rather special process where a substance goes directly from a solid state to a gaseous state, without ever becoming a liquid in between. It is a physical process, as a matter of fact, that is quite fascinating to observe in action. This transition happens when heat provides enough energy for some molecules to overcome the attractive forces of their neighbors and escape into the vapor phase. It is, basically, how your solid ink turns into a gas and then bonds with your item.
How Sublimation Works
When we talk about sublimation in crafting, we are talking about dye sublimation. This process, in a way, uses specific inks that, when heated to a high temperature, turn into a gas. This gas then permanently dyes polyester fabrics or items with a special polymer coating. An example, you might say, is similar to when ice cubes evaporate without even melting into water. The solid ink, basically, just vanishes into a gas.
This conversion, actually, is caused by the absorption of heat. The heat, you see, provides enough energy for the ink molecules to simply jump from being a solid right into being a vapor. This endothermic phase transition occurs at specific temperatures, making it a very precise kind of process. The vapor, then, opens up the pores of the item you are working with, allowing the dye to settle in permanently. It is, truly, a rather neat trick.
Why Precision Matters
Getting the temperature and time just right is, honestly, super important for good sublimation results. If your heat is too low, or your time too short, the ink might not fully vaporize. This, you know, can lead to colors that look washed out or designs that are not completely transferred. On the other hand, if the heat is too high, or the time too long, you could damage your item, or the colors might bleed, which is definitely not what you want. It is a delicate balance, you see, that needs careful attention.
Why You Need a Sublimation Time and Temperature Chart
A **sublimation time and temperature chart** is, quite simply, your best friend in the crafting room. It takes the guesswork out of your projects, giving you a reliable starting point for different materials. This chart, as a matter of fact, helps you achieve consistent, high-quality results every single time you use your heat press. It is, basically, like having a recipe book for all your sublimation creations.
Avoiding Common Mistakes
Without a proper chart, you might find yourself dealing with common problems like "ghosting," where your image looks blurry or has a shadow. Or, you might get prints that are too light, or perhaps too dark. These issues, you know, often come from incorrect heat and time settings. A good chart helps you avoid these frustrations, saving you from wasted materials and disappointment. It is, in a way, a guide to smooth sailing.
Saving Time and Materials
Imagine trying to figure out the perfect settings for a new mug, and you have to guess and test multiple times. That, you see, uses up a lot of blanks, ink, and paper. A **sublimation time and temperature chart**, however, gives you a solid starting point, which means fewer failed attempts. This, basically, saves you money on supplies and, perhaps more importantly, saves you a lot of precious crafting time. It is, truly, a smart way to work.
Understanding Your Heat Press
Your heat press is, in some respects, the heart of your sublimation setup. Knowing how it works and how to set it up correctly is just as important as having the right time and temperature settings. Different heat presses, you know, can perform a little differently, even if they are set to the same temperature. It is, basically, about getting to know your own machine.
Temperature Uniformity
A good heat press, you see, will heat evenly across its entire platen. If your press has "cold spots," your designs might not transfer completely in those areas, leading to patchy results. It is, basically, a good idea to test your press's temperature uniformity with a thermometer gun, just to be sure. This, in a way, helps you understand if your press is heating consistently, which is really important for a good outcome.
Pressure Settings
Pressure, too, is a very important part of the sublimation equation. Most sublimation projects, you know, need medium to firm pressure. If the pressure is too light, the ink might not fully transfer, or you might get a faded look. If it is too heavy, you could damage your item or even your press. You should, as a matter of fact, always refer to your heat press's manual for guidance on adjusting pressure. It is, basically, about finding that sweet spot for your specific project.
Factors Affecting Sublimation Settings
While a **sublimation time and temperature chart** gives you a great starting point, there are, you know, a few other things that can influence your final results. These factors, basically, can mean you might need to adjust your settings slightly from what the chart suggests. Being aware of these helps you fine-tune your process for the best possible outcome, which is really what we are after.
Material Type
The type of material you are sublimating onto is, honestly, one of the biggest factors. Polyester fabrics, for example, need different settings than ceramic mugs or metal blanks. The polyester content in fabrics, too, plays a big role; higher polyester content usually means brighter, more vibrant prints. For hard items, the quality and thickness of the polymer coating are very important. It is, truly, about matching your settings to the item's makeup.
For fabrics, you might find that a 100% polyester shirt needs less time than a 65% polyester blend, simply because the dye has more fibers to bond with directly. Similarly, a thick ceramic mug will hold heat differently than a thin aluminum sheet. This, you know, means the heat needs to penetrate the item properly for the sublimation to occur. Knowing your material, basically, helps you anticipate these needs.
Ink and Paper Quality
The sublimation ink and paper you use also have an impact. Different brands of ink, you know, might have slightly different formulations that react to heat in a unique way. Some sublimation papers, too, are designed to release ink more efficiently than others. Using good quality, compatible products is, as a matter of fact, very important for consistent results. It is, basically, like choosing the right ingredients for a recipe.
A paper that holds too much ink or releases it too slowly can lead to dull prints, even if your time and temperature are perfect. Conversely, a paper that releases ink too quickly might cause colors to spread. So, you know, it is a good idea to stick with reputable brands for both your ink and paper. This, in a way, helps eliminate variables that could mess with your settings. It is, truly, about consistency across your supplies.
Ambient Conditions
Believe it or not, the temperature and humidity in your crafting room can also affect your sublimation process. A very cold room, for example, might mean your heat press takes a little longer to reach and maintain its set temperature. High humidity, too, can sometimes affect how your sublimation paper performs. While these are usually minor influences, they are worth keeping in mind if you are troubleshooting inconsistent results. It is, basically, like how the weather affects baking.
If you are finding that your prints are consistently a little off, despite using the chart, consider your environment. Perhaps, you know, a slight adjustment to your time might be needed if your room is unusually cold or humid. This, in a way, is just another layer of fine-tuning you can do. It is, truly, about paying attention to all the small details that can make a big difference.
Your Go-To Sublimation Time and Temperature Chart
Here is a helpful **sublimation time and temperature chart** to get you started. Remember, these are general guidelines. You might need to adjust slightly based on your specific heat press, ink, paper, and item. Always do a test print on a scrap piece if possible, especially when trying a new material. This chart, you know, is designed to give you a very solid foundation for your projects.
Sublimating T-Shirts and Fabric
- Polyester T-Shirts (100%):
- Temperature: 385-400°F (196-204°C)
- Time: 45-60 seconds
- Pressure: Medium
- Notes: Pre-press for 5-10 seconds to remove moisture and wrinkles.
- Polyester Blends (65%+ Polyester):
- Temperature: 385-400°F (196-204°C)
- Time: 60-75 seconds
- Pressure: Medium
- Notes: Colors might appear slightly less vibrant due to lower polyester content.
- Sublimation Socks/Leggings:
- Temperature: 385-400°F (196-204°C)
- Time: 45-60 seconds
- Pressure: Medium
- Notes: Use a jig or cardboard insert to maintain shape.
Sublimating Mugs and Drinkware
- Ceramic Mugs (11-15oz):
- Temperature: 380-400°F (193-204°C)
- Time: 180-240 seconds (3-4 minutes)
- Pressure: Medium-Firm
- Notes: Use a mug press. Allow to cool completely before handling.
- Stainless Steel Tumblers/Bottles:
- Temperature: 360-375°F (182-190°C)
- Time: 60-90 seconds (for mug press) or 300-360 seconds (for convection oven)
- Pressure: Medium (mug press), Light (convection oven with shrink wrap)
- Notes: Remove shrink wrap immediately after pressing if using an oven.
Sublimating Hard Substrates
- Metal Panels (e.g., ChromaLuxe):
- Temperature: 400°F (204°C)
- Time: 60-75 seconds
- Pressure: Medium
- Notes: Place metal face up with transfer on top. Use heat tape.
- Wood Blanks (Sublimation Coated):
- Temperature: 380-400°F (193-204°C)
- Time: 60-75 seconds
- Pressure: Medium
- Notes: Results can vary based on wood type and coating.
- Slate/Stone Coasters:
- Temperature: 400°F (204°C)
- Time: 360-420 seconds (6-7 minutes)
- Pressure: Medium-Firm
- Notes: Place transfer face down on the slate.
Sublimating Other Items
- Phone Cases (Sublimation Blanks):
- Temperature: 360-380°F (182-193°C)
- Time: 45-60 seconds
- Pressure: Medium
- Notes: Use a jig for consistent pressure.
- Jigsaw Puzzles (Sublimation Coated):
- Temperature: 385-400°F (196-204°C)
- Time: 60-75 seconds
- Pressure: Medium
- Notes: Pre-press for a few seconds if warped.
- Ceramic Tiles:
- Temperature: 400°F (204°C)
- Time: 300-420 seconds (5-7 minutes)
- Pressure: Medium-Firm
- Notes: Can be pressed face down or face up depending on coating.
Tips for Perfect Sublimation Results
Beyond just the **sublimation time and temperature chart**, there are, you know, a few extra steps you can take to make sure your sublimation projects turn out perfectly. These small actions, basically, can make a very big difference in the quality and longevity of your designs. It is, truly, about setting yourself up for success.
Pre-Pressing
For fabric items, pre-pressing your material for about 5-10 seconds before applying your design is, as a matter of fact, a really good idea. This step, you see, helps remove any moisture that might be in the fabric. Moisture, you know, can turn into steam during the sublimation process and cause blurry or faded spots. It also helps smooth out any wrinkles, which is very important for an even transfer. This, basically, prepares your item for the best possible print.
Using Butcher Paper and Blowout Paper
Always use protective paper, like butcher paper or parchment paper, both inside and outside your item. Place a piece inside garments to prevent the ink from bleeding through to the back. Then, place another piece on top of your sublimation transfer before pressing. This top layer, you know, catches any excess ink that might "blow out" from the edges of your design, protecting your heat press platen from getting stained. It is, basically, a simple way to keep things clean and prevent unwanted transfers. For more helpful ideas, you can learn more about crafting techniques on our site.
Cooling Down
After pressing, allow your sublimated item to cool down completely before handling it too much. For hard items like mugs or metal, this is especially important. If you touch them while they are still hot, you could smudge the design or even burn yourself. For fabrics, letting them cool helps the ink fully set into the fibers. It is, truly, a bit like letting paint dry, you know. Patience, in this case, really pays off.
Test Prints
Whenever you are trying a new material, or even a new batch of ink or paper, it is a very good idea to do a test print first. Use a small, less important area of the item, or a scrap piece of the same material. This, you see, lets you fine-tune your **sublimation time and temperature chart** settings without wasting a whole blank item. It is, basically, a smart way to learn and adjust before committing to your main project. This step, you know, can save you a lot of trouble.
Troubleshooting Common Sublimation Issues
Even with a **sublimation time and temperature chart**, you might, you know, run into a few bumps along the way. Do not worry, these issues are common, and often, they have simple solutions. Understanding what causes them helps you fix them quickly and get back to creating beautiful things. It is, truly, about learning from your experiences.
Faded Prints
If your sublimated image looks dull or faded, it is, in some respects, usually a sign that the ink did not fully transfer. This can happen if the temperature was too low, or the press time was too short. It could also be a sign that your pressure was not firm enough. Make sure your heat press is reaching and holding the correct temperature, and consider adding a few seconds to your press time. Also, check that your material has enough polyester content or a proper coating. This, basically, ensures the dye has something to bond with.
Ghosting
Ghosting, you know, is when your image appears blurry or has a faint duplicate next to the main design. This is often caused by the sublimation paper shifting during the pressing process, or when you remove it from the heat press. To prevent this, always secure your transfer paper firmly with heat-resistant tape. Also, try to remove the paper swiftly and cleanly after pressing, without letting it drag across the item. This, basically, keeps your image sharp and clear. You can find more information about this topic here.
Burning or Scorching
If your item looks yellowed, browned, or has burn marks, it is, as a matter of fact, a clear sign that the temperature was too high, or the press time was too long. This is especially common with polyester fabrics, which are sensitive to excessive heat. Reduce your temperature slightly, or shorten your press time. Make sure you are using enough protective paper, too, as this can help absorb some of the excess heat. It is, truly, about finding that perfect balance for your material.
Maintaining Your Sublimation Equipment
Keeping your heat press and other sublimation tools in good shape is, honestly, just as important as knowing your **sublimation time and temperature chart**. A well-maintained machine will give you more consistent results and last much longer. Regularly clean your heat press platen to remove any residue or stray ink. Make sure the temperature sensor is clean, too, as a dirty sensor can give inaccurate readings. This, basically, helps ensure your press is always ready for your next project.
Period


Detail Author:
- Name : Dewayne Greenfelder
- Username : ana.reynolds
- Email : cbartoletti@yahoo.com
- Birthdate : 1979-04-27
- Address : 1549 Gaylord Shoal Pagacport, IA 55697
- Phone : 1-341-638-2759
- Company : Keeling-Crist
- Job : Orthotist OR Prosthetist
- Bio : Et voluptatibus sit eos possimus voluptas consequatur quos omnis. Beatae aut accusantium rerum tempore totam tempora saepe cum. Voluptas et incidunt voluptatem veniam.
Socials
twitter:
- url : https://twitter.com/cassin1974
- username : cassin1974
- bio : Quaerat voluptatibus qui eveniet sint dolor. Accusantium minus nobis alias. In praesentium sed accusamus mollitia maxime sed beatae unde.
- followers : 4943
- following : 146
linkedin:
- url : https://linkedin.com/in/salma4383
- username : salma4383
- bio : Libero facilis consequatur quisquam dolorem id.
- followers : 5547
- following : 411
