
Giving wood items a fresh coat of paint can really change how a room feels, you know? It's a wonderful way to breathe new life into old furniture or to add your own special touch to something plain. Many folks find this sort of project very rewarding, and it's something almost anyone can try. Whether you're thinking about a worn-out dresser or a simple wooden box, a bit of color can make a big difference.
There's a real satisfaction that comes from seeing a wooden piece transform right before your eyes, too. It's like giving it a whole new story. Plus, it lets you match things perfectly with your home's style, or even try out a completely new look. It's a pretty fun way to be creative with your living space, actually.
Before you pick up that brush, though, it's a good idea to think through your plan. This includes figuring out the right steps and, perhaps, even trying out your ideas digitally first. Planning can make the actual painting much smoother, and it helps you get the look you're really hoping for, so.
Table of Contents
- Why Paint on Wood? More Than Just Color
- Getting Ready: The First Steps for Wood Painting
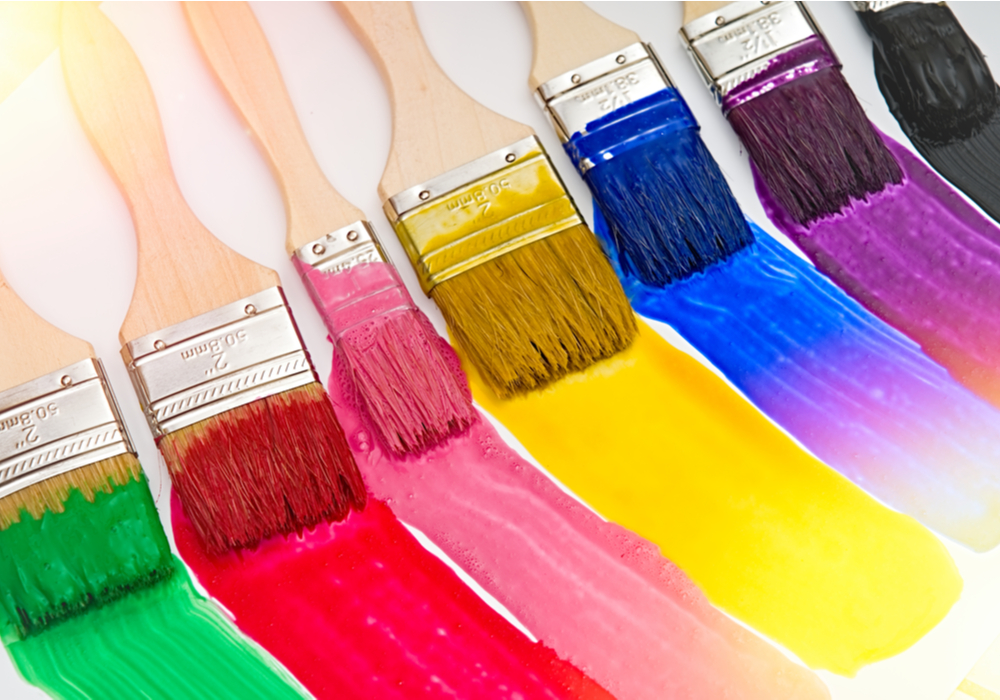
- Picking Your Colors and Tools: Making Smart Choices
- Visualizing Your Project: Using Digital Tools
- The Painting Process: Bringing Your Vision to Life
- Common Questions About Painting Wood
- Conclusion
Why Paint on Wood? More Than Just Color
There are many good reasons why people decide to paint wood. It's not just about changing the color, you know. It can really help protect the wood underneath, making it last longer and look good for more years. Plus, it's a way to truly make something your own, which is pretty neat.
Bringing Old Pieces Back to Life
Think about that old wooden chair in the garage, or a chest of drawers that's seen better days. A fresh coat of paint can make these items feel brand new, really. It's a way to save money, too, by giving furniture a second chance instead of buying something new. This upcycling trend is very popular right now, as a matter of fact.
Adding Your Personal Touch
When you paint wood yourself, you get to pick every shade and every finish. This means your item will be truly unique, perfectly matching your home's style. You can add patterns, try different textures, or just pick a color that speaks to you. It's a very personal way to decorate, basically.
Getting Ready: The First Steps for Wood Painting
Preparing your wood piece properly is super important for a good paint job, honestly. If you skip these steps, your paint might not stick well or could peel off too soon. Taking a little extra time here will save you headaches later, you know.
Cleaning and Repairing Your Wood Piece
First things first, give your wooden item a good clean. Use a mild soap and water to wipe away any dirt or grease. Make sure it's completely dry before you move on. If there are any little dings or cracks, fill them in with wood filler and let it set. This creates a smooth surface for your paint, so.
Sanding for a Smooth Start
Sanding helps the paint grab onto the wood better. Start with a medium-grit sandpaper, then move to a finer one for a really smooth feel. You don't need to sand down to bare wood every time, but roughing up the surface is a good idea. After sanding, wipe away all the dust with a damp cloth, as I was saying.
Priming for Lasting Beauty
Priming is like putting on a base coat for your paint. It helps the paint color look true and makes it stick better, especially on wood that's really dark or has stains. One thin coat of primer usually does the trick. Let it dry completely before you paint, naturally.
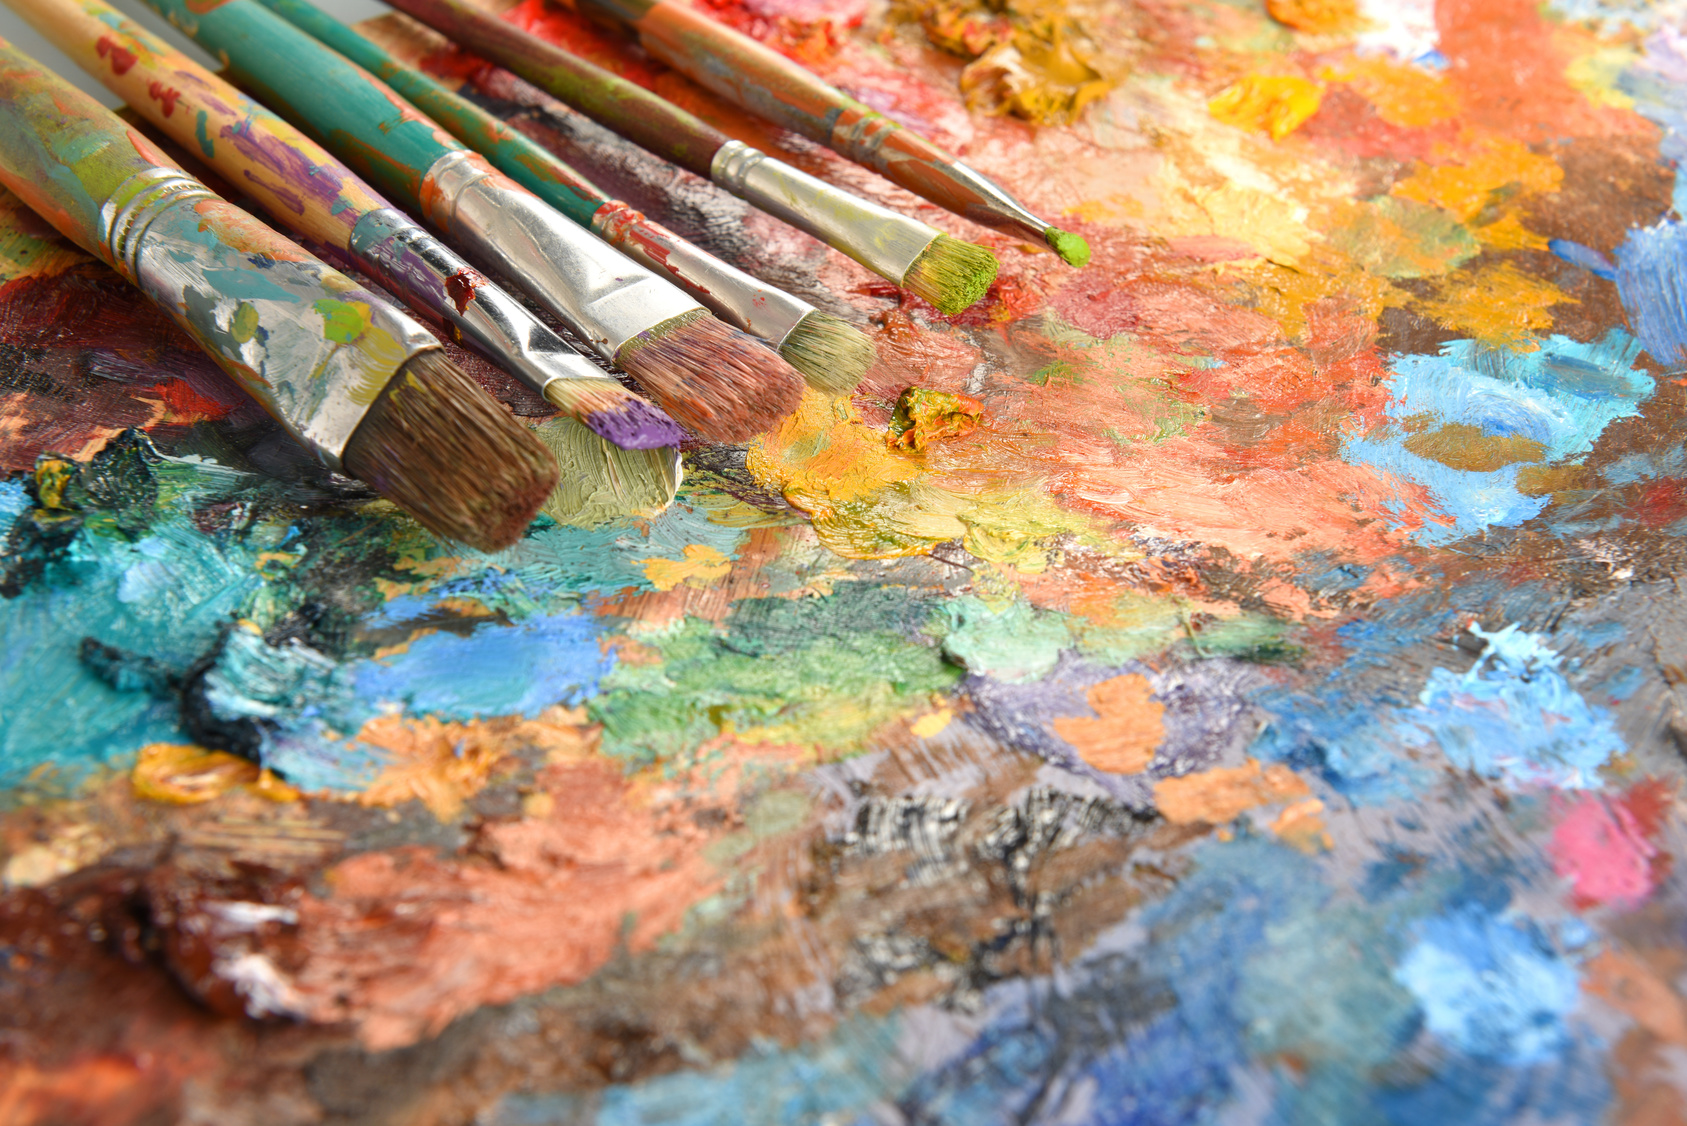
Picking Your Colors and Tools: Making Smart Choices
Choosing the right paint and the correct tools makes a big difference in how your project turns out, you see. There are lots of options out there, and knowing a little bit about them can help you pick what's best for your specific piece, pretty much.
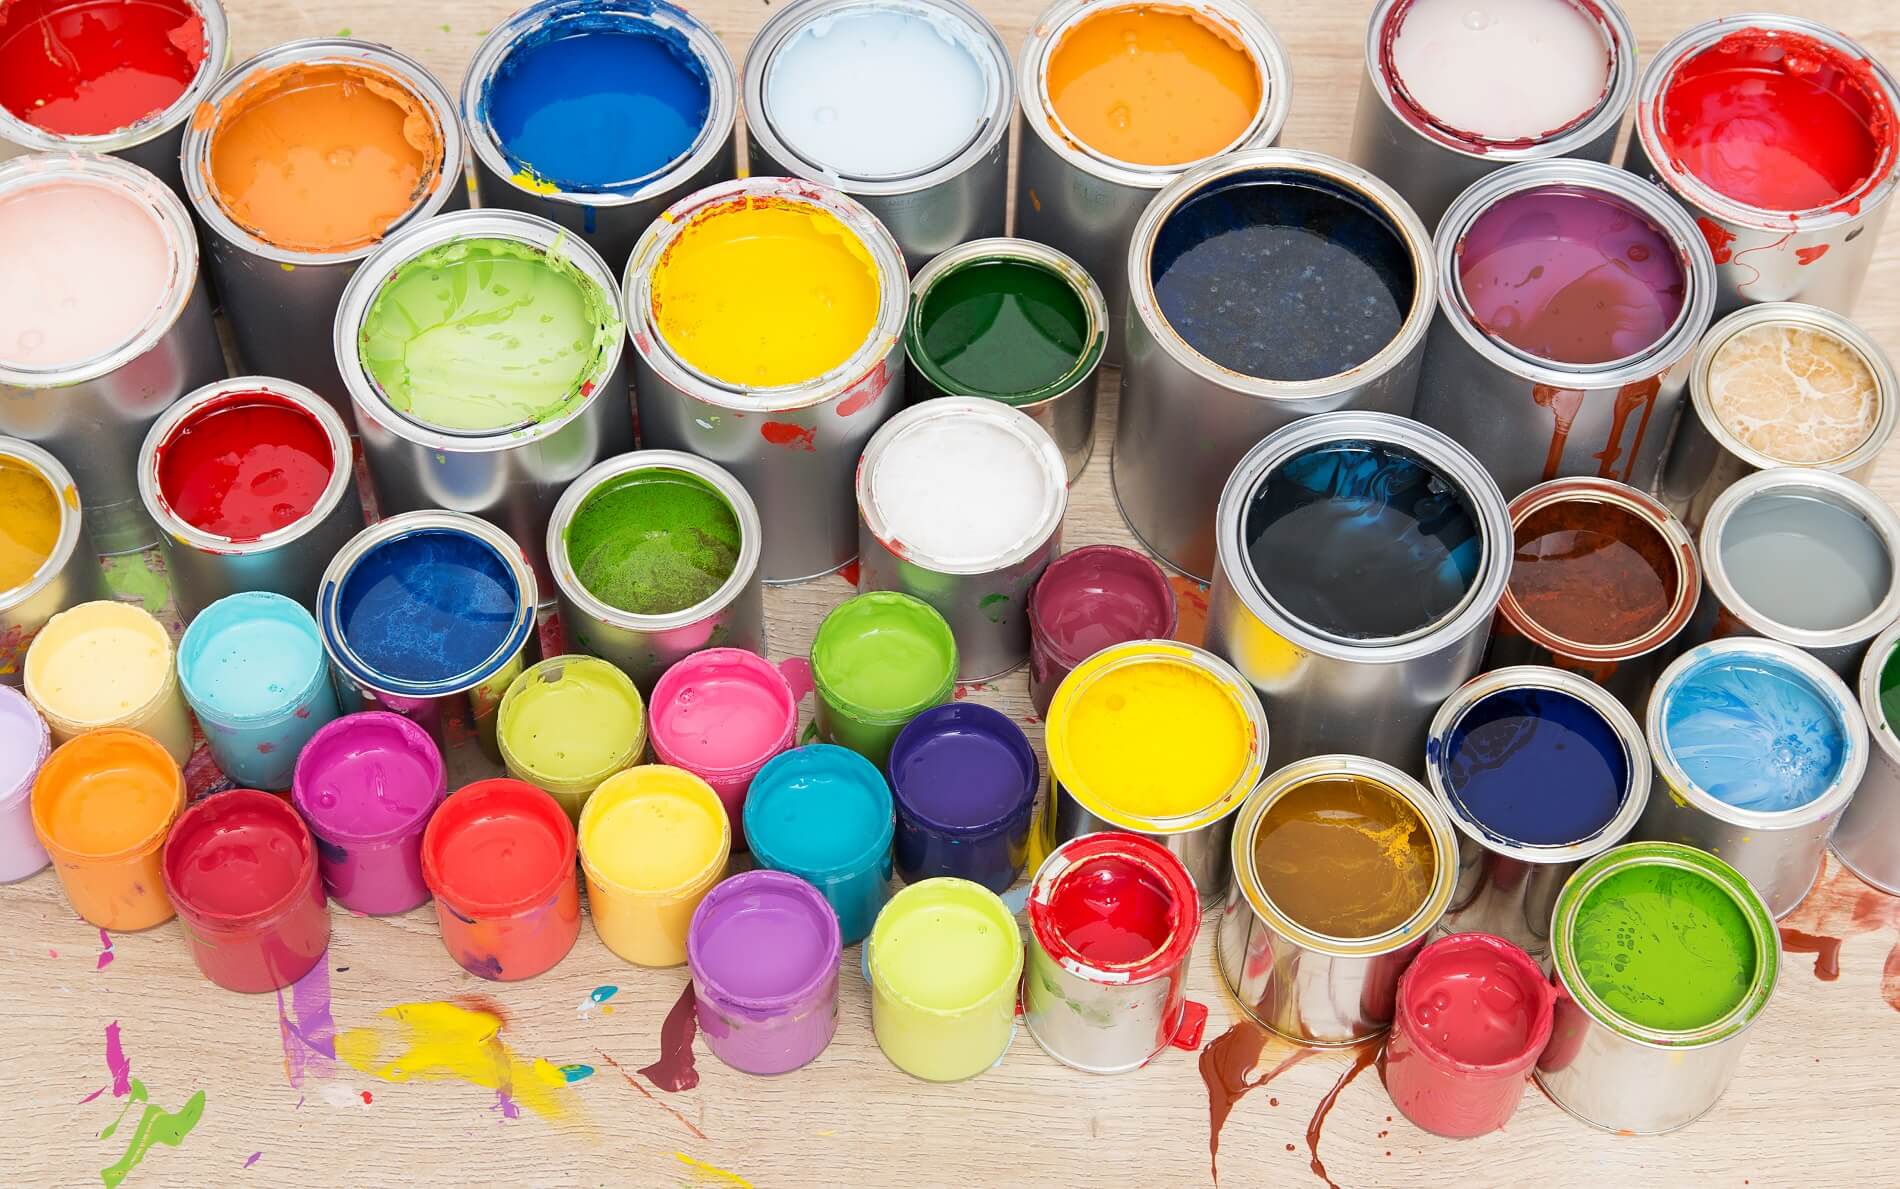
What Kind of Paint Works Best?
For wood, you'll often find latex (water-based) or oil-based paints. Latex paints are easier to clean up and dry faster, which is nice. Oil-based paints are super durable, but they need mineral spirits for cleaning brushes. For outdoor items, you'll want paint that can handle the weather. Picking the right type is very important for a lasting finish, you know.
Essential Brushes and Rollers
Good brushes make painting much easier and give a smoother finish. For larger flat areas, a small foam roller can work wonders. For detailed spots or corners, a good quality angled brush is very helpful. Make sure your tools are clean before you start, and clean them well right after you finish, obviously.
Visualizing Your Project: Using Digital Tools
Before you even open a paint can, it can be really helpful to see how your ideas might look. This is where digital tools come into play. You can try out different colors and styles without making any mess in your home. It’s a pretty smart way to plan, actually.
How Paint.net Helps with Planning
You might be surprised, but image editing software can be a great friend for planning your wood painting projects. Take Paint.net, for example. It's an image and photo editing program for Windows PCs. It has an intuitive and innovative user interface, which means it's pretty easy to get the hang of, even if you're not a computer whiz.
One cool thing about Paint.net is its support for layers. You could, say, put a photo of your wooden item on one layer. Then, on another layer above it, you could "paint" different colors or patterns. This lets you switch between ideas very quickly, trying out various looks without changing the original picture. It's almost like having an unlimited supply of paint samples, you know.
The program also has unlimited undo, which is fantastic. If you try a color digitally and don't like it, you just hit undo, and it's gone. No need to sand or repaint! It stores temporary files related to undo/redo history, so your actual disk space needs will depend on how much you play around with an image. This feature alone makes it a very low-risk way to experiment with paint on wood designs.
You can even use special effects in Paint.net to get a feel for different finishes, like a distressed look or a slightly faded appearance. The gradient tool, for instance, has been cited as an innovative feature, allowing you to blend colors smoothly. This could help you visualize a blended paint effect on your wood piece. The documentation, last revised March 13, 2025, gives a good overview of its features, so it's kept pretty current, too.
Getting the software is simple; you just download the installer from their website. It's the recommended way to get it if you don't have it, and it can also update the app. They release maintenance updates that fix small bugs, like flickering issues with Nvidia fast vsync, and help with screen blanking problems, which shows they keep it working well. This means you get a reliable tool for your digital planning, which is nice.
Why Digital Mock-ups Matter
Using digital mock-ups helps you make confident choices before you commit to real paint. It saves time and money because you avoid buying the wrong color or starting a project only to dislike the outcome. It's like a practice run, allowing you to perfect your vision for your paint on wood project without any actual mess. This step, honestly, can make a huge difference in how happy you are with the final result, you know.
The Painting Process: Bringing Your Vision to Life
Once your wood is ready and you've got your plan, it's time for the fun part: applying the paint. Taking your time and being patient will help you get a really nice finish, you know. Don't rush it, basically.
Applying Your First Coat
Dip your brush or roller into the paint, but don't overload it. Apply thin, even coats, moving in the direction of the wood grain. Thin coats are better than one thick one because they dry more evenly and are less likely to drip. Let this first coat dry completely, which might take a few hours, or even longer, depending on the paint, too.
Adding More Layers
Most wood painting projects need at least two coats of paint, sometimes three, for the best coverage and color. If the first coat feels a bit rough after drying, you can lightly sand it with very fine-grit sandpaper, then wipe away the dust before applying the next coat. This makes for a super smooth finish, as a matter of fact.
Finishing Touches and Protection
Once your final coat of paint is dry, you might want to add a protective topcoat. This is especially good for items that will get a lot of use, like tabletops. A clear sealer or varnish will shield your paint from scratches and spills, making it last much longer. Read the instructions on your topcoat for drying times, naturally.
Common Questions About Painting Wood
Here are some common questions people ask when they're thinking about painting wood, you know.
What kind of paint works best on wood?
For most indoor wood projects, a good quality latex (water-based) paint is a popular choice. It's easy to clean up and dries fairly quickly. For outdoor items or surfaces that get a lot of wear, an oil-based paint or a specialized exterior wood paint might be a better pick for extra durability, honestly. Sometimes, chalk paint is also used for a specific matte, distressed look.
Is sanding always necessary before painting wood?
Sanding is almost always a good idea, yes. It helps the paint stick better to the surface, especially if the wood is glossy, has an old finish, or has any rough spots. If you're painting over previously painted wood that's in good shape, a light scuff-sanding is often enough. For bare wood or wood with a very slick finish, more thorough sanding is usually needed for a strong bond, you see.
How can I make my painted wood last longer?
To make your painted wood last, proper preparation is key. This means cleaning, sanding, and priming it well. Using good quality paint and applying thin, even coats also helps. For items that get heavy use, adding a clear protective topcoat, like a polyurethane or varnish, will shield the paint from wear, scratches, and moisture. Cleaning painted wood gently with mild soap and water also helps keep it looking good for years, as a matter of fact.
Conclusion
Painting on wood is a rewarding project that lets you refresh your home and show off your personal style. By taking the time to prepare your wood, choose the right materials, and even plan your designs digitally with tools like Paint.net, you're setting yourself up for success. Remember, each step, from cleaning to the final protective coat, plays a part in how great your finished piece looks and how long it lasts. We hope this guide helps you feel ready to start your next wood painting adventure. Learn more about home improvement on our site, and find more DIY ideas on our project pages.
Detail Author:
- Name : Elfrieda Towne
- Username : esther.kozey
- Email : obergnaum@schmitt.com
- Birthdate : 1986-08-31
- Address : 5535 Upton Keys Apt. 695 Pablomouth, DC 36688
- Phone : +19807548378
- Company : Thiel, Auer and Hammes
- Job : Short Order Cook
- Bio : Odit ipsa magnam qui quos assumenda iusto reiciendis. Perspiciatis sint suscipit aut dolorum rerum fuga.
Socials
tiktok:
- url : https://tiktok.com/@ewhite
- username : ewhite
- bio : Consequatur nihil qui molestiae id. Corrupti ab ut ut sit mollitia nesciunt.
- followers : 6049
- following : 2586
facebook:
- url : https://facebook.com/ewhite
- username : ewhite
- bio : Cupiditate aut cumque et dolor enim non.
- followers : 3503
- following : 2870
