
Have you ever wished you could turn lights on or off from two different spots in a room or hallway? It's a pretty common wish, and it makes life so much easier. Imagine walking into a long hall, flipping a switch, and then turning the lights off at the other end. That’s exactly what a 3-way switch lets you do. It’s a very handy bit of electrical work, and it's something many homeowners want to figure out. Understanding the wire diagram for a 3-way switch might seem a little tricky at first, but honestly, it’s quite logical once you see how the pieces fit together. We're here to walk you through it, so you can tackle this project with confidence.
Getting your head around a wire diagram 3 way switch is a super useful skill for anyone doing home projects. It's not just about turning lights on; it's about making your living space more convenient and, in a way, more modern. You know, like, you don't have to stumble in the dark anymore. This kind of setup is typical in stairwells, large living rooms, or even garages, where having control from multiple points just makes sense. It really does simplify your daily routine, which is pretty cool.
So, we're going to break down how a wire diagram 3 way switch works, showing you the parts and what each wire does. We’ll talk about what you need, safety stuff, and even some common questions people ask. By the end, you’ll have a much clearer picture of how to get those lights working just the way you want them. It's a project that many folks find very rewarding, and it helps you feel more in charge of your home's electrical bits, you know?
Table of Contents
- What is a 3-Way Switch?
- Why Bother with a 3-Way Switch?
- The Key Players in a 3-Way Switch Diagram
- Understanding the Wire Diagram 3 Way Switch Basics
- Step-by-Step Wiring Explanation
- Important Safety Tips
- Choosing the Right Wire and Tools
- Common Questions About 3-Way Switches
- Troubleshooting Your 3-Way Switch
- Making Your Home Smarter with 3-Way Switches
What is a 3-Way Switch?
A 3-way switch, just to be clear, isn't really about three positions. It’s about controlling one light, or a group of lights, from two separate places. Think of it like a seesaw, sort of. When one switch is up, the other might be down, but they both influence the light. You need two of these special switches to make the system work. They are often used in larger spaces where walking to a single switch is just, you know, a bit of a hassle.
Why Bother with a 3-Way Switch?
The main reason to use a 3-way switch is for convenience and safety. Imagine a long hallway or a staircase. You can turn the light on when you enter at one end, and then switch it off when you leave at the other. This saves you from walking in the dark, which is, honestly, a bit risky. It also means you don't have to backtrack just to hit a switch, which can be a real time-saver in a busy home. It just makes your home flow better, apparently.
The Key Players in a 3-Way Switch Diagram
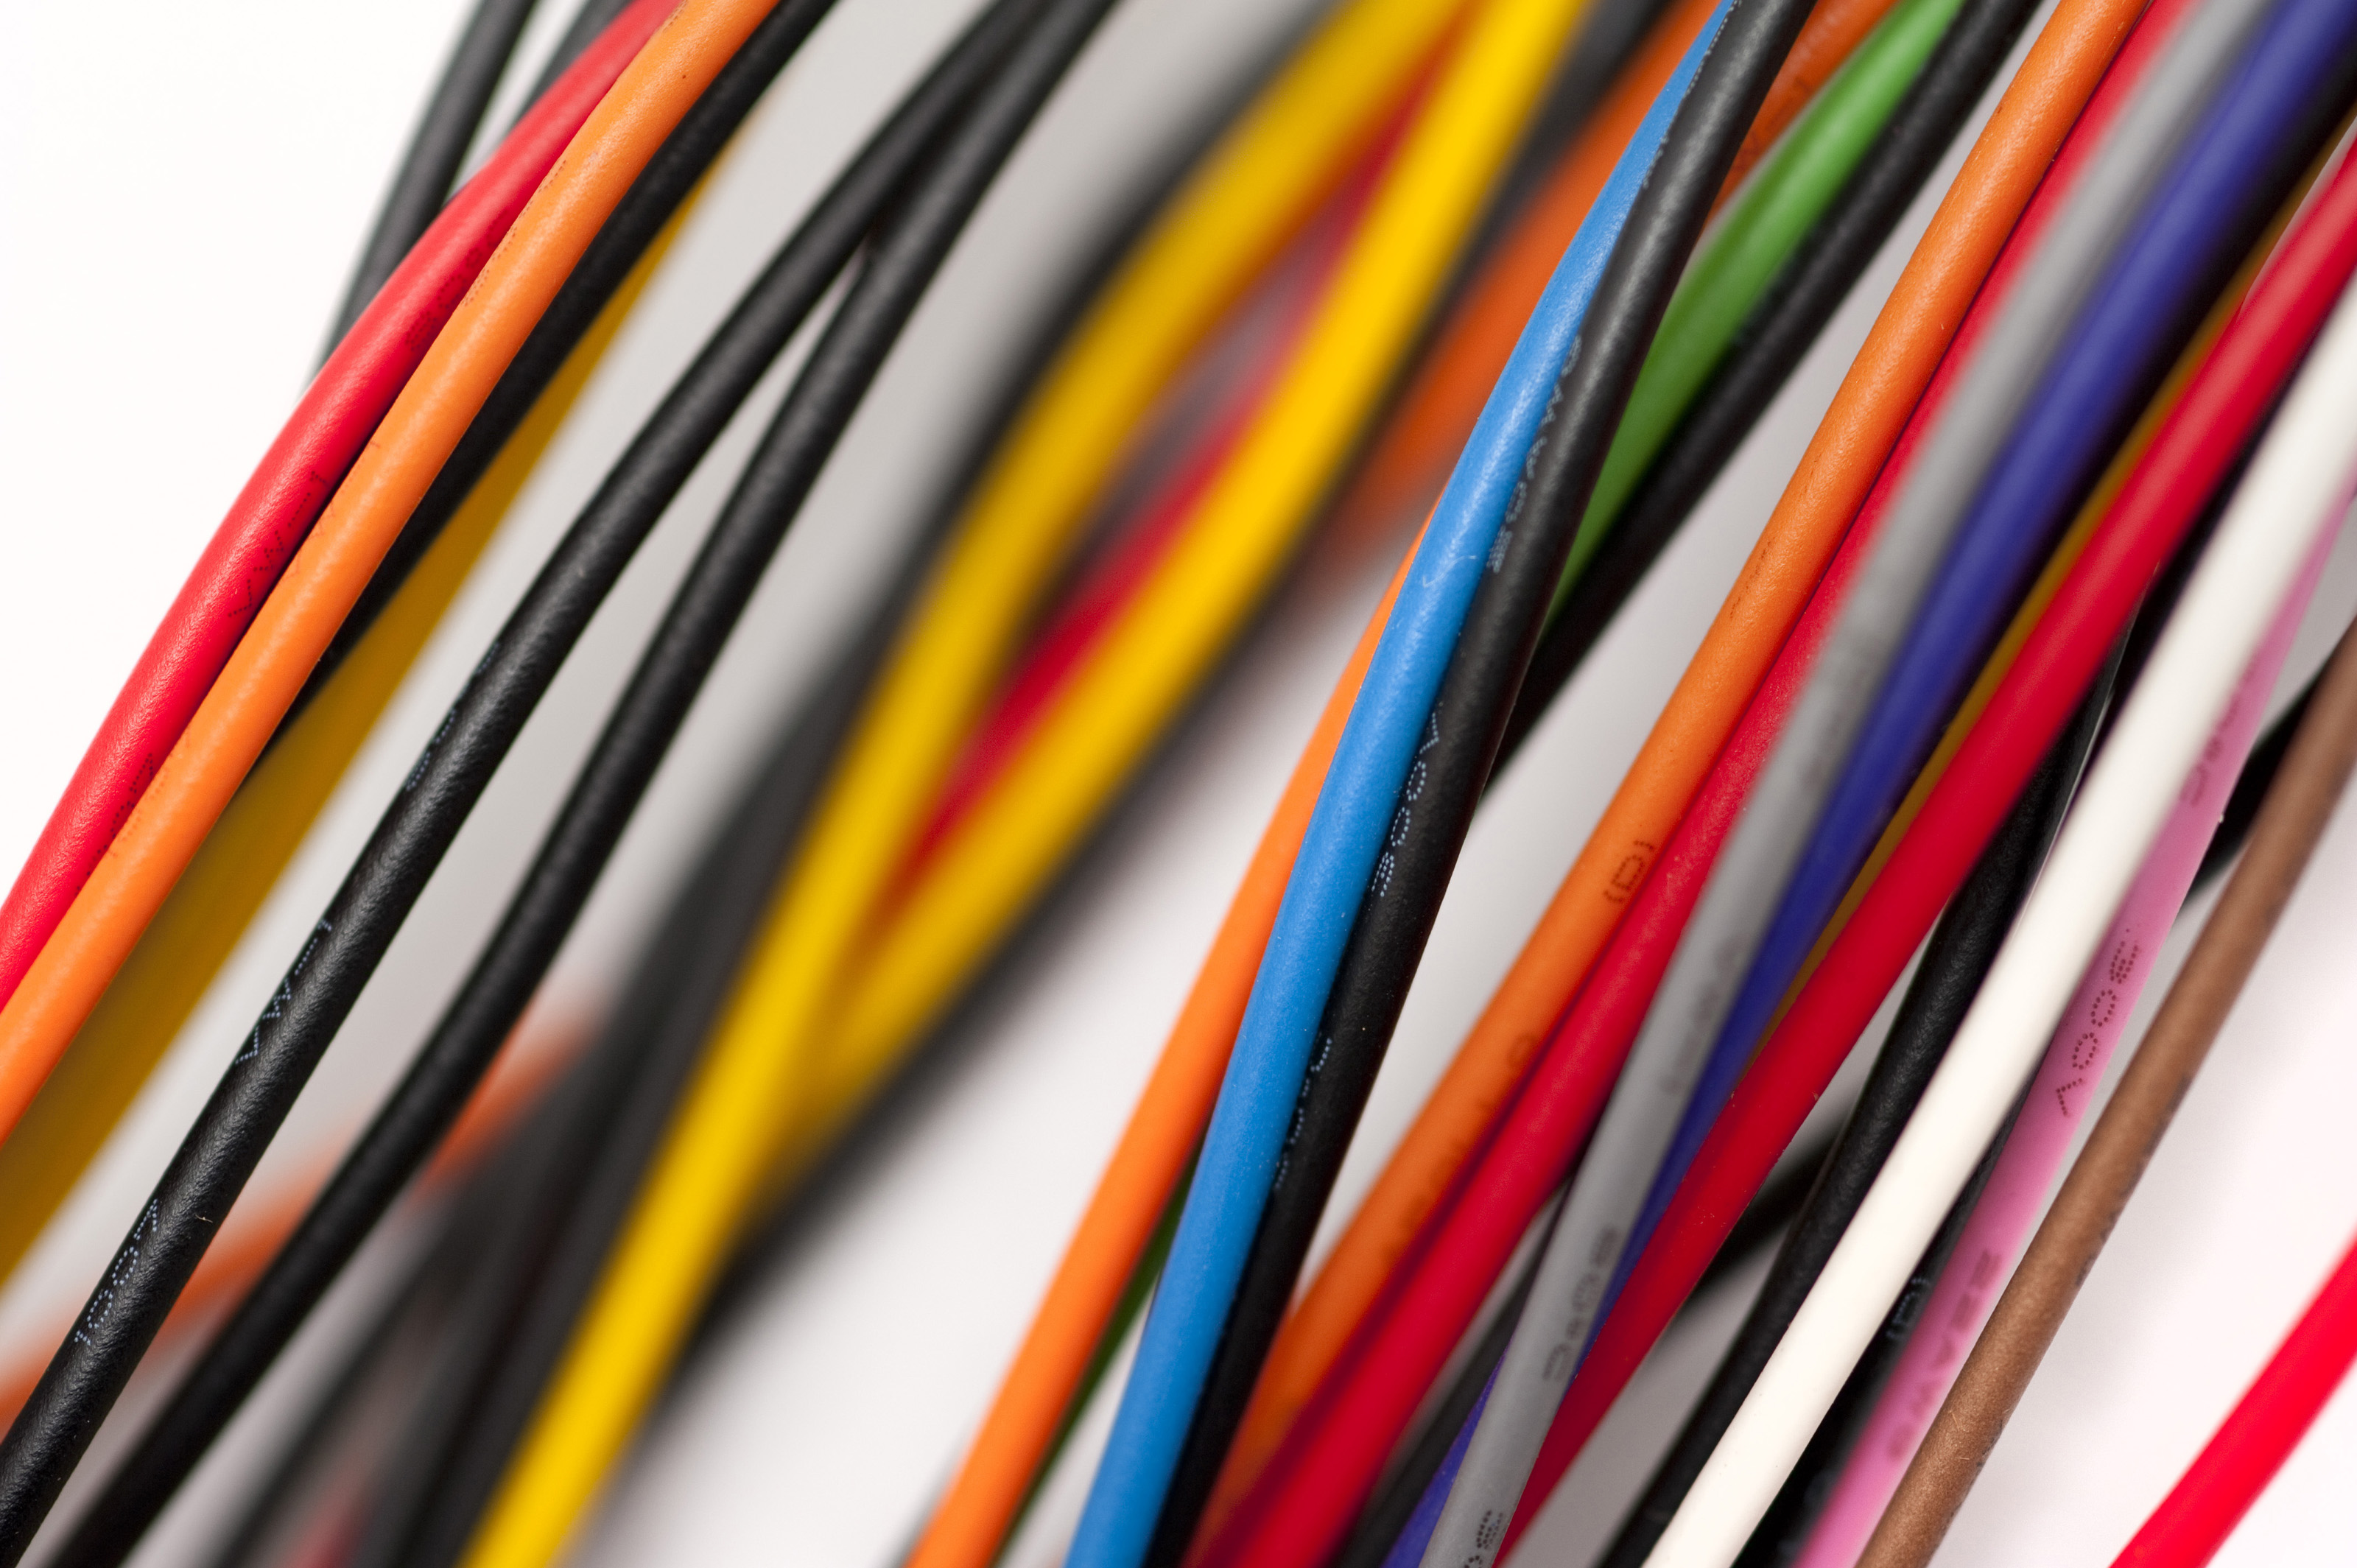
To really get a wire diagram 3 way switch, you need to know the different kinds of wires and terminals involved. It's like learning the characters in a play. Each one has a specific job, and they all have to work together perfectly for the lights to come on. So, let's look at these essential parts. You'll see these terms pop up a lot in any diagram, so knowing them makes everything much clearer, you know?
Hot Wire
The hot wire, sometimes called the "live" wire, brings electricity from the circuit breaker. It’s the one carrying the current, so it's very important to treat it with respect. Typically, it’s black, but always check with a voltage tester before you touch anything. This wire is the starting point for the power, and it needs to connect correctly to make things happen, you know, electrically.
Neutral Wire
The neutral wire completes the circuit, bringing the electricity back to the source. It's usually white. While it doesn't carry current when the circuit is open, it's still part of the path and should be handled with care. You'll often find these wires bundled together in the electrical box, and they are pretty essential for the whole system to work, in a way.
Ground Wire
The ground wire is a safety wire. It's usually bare copper or green. Its job is to provide a safe path for electricity to go if there's a fault, like a short circuit. This helps prevent shocks and fires. You should always connect the ground wire to the switch's green screw and to the electrical box if it's metal. It’s like a safety net, really, very important.
Traveler Wires
These are the wires that connect the two 3-way switches to each other. They "travel" between the switches, carrying the current back and forth depending on the switch positions. There are always two traveler wires in a 3-way setup, and they are often black, red, or sometimes white with black tape. They are the communication lines between the switches, if that makes sense, so they're pretty key.
Common Terminal
Each 3-way switch has a special screw called the "common" terminal. This screw is usually a different color, like black or darker than the others. On the first switch, the hot wire from the power source connects to this common terminal. On the second switch, the wire going to the light fixture (the "switched leg") connects to this common terminal. It’s the pivot point, you know, for the power flow.
Understanding the Wire Diagram 3 Way Switch Basics
When you look at a wire diagram 3 way switch, you'll generally see two main ways to set things up. The way your house is wired often decides which method you’ll use. Knowing these two common configurations makes it much easier to read any diagram you find. It's not super complicated, but it does help to know the differences, as a matter of fact.
Power to the First Switch Method
This is a very common setup. In this method, the electrical power comes directly into the first 3-way switch box. From there, the traveler wires go to the second 3-way switch box. Then, a wire from the second switch's common terminal goes to the light fixture. It's a straightforward path, almost like a straight line, you know? This setup is often found in newer homes or where the power source is easily accessible at the switch location. It’s a bit more common, actually.
Power to the Light Fixture Method
Sometimes, the power comes into the light fixture box first. From the light fixture, a cable runs to the first 3-way switch, and another cable runs to the second 3-way switch. The traveler wires still connect the two switches. This method can be a little more involved to diagram because the power is "interrupted" at the light first. It’s not as typical as the first method, but you might see it, especially in older homes, or where the light fixture is more central, you know?
Step-by-Step Wiring Explanation
Let's go through a common wire diagram 3 way switch setup, step by step. We'll assume the power comes into the first switch box, as it's often the simplest to explain. Remember, always turn off the circuit breaker before you touch any wires. Safety first, always. You want to make sure the electricity is completely off before you even open the switch plate, which is, you know, super important.
- Turn Off the Power: Go to your electrical panel and switch off the breaker that controls the circuit you're working on. Double-check with a voltage tester at the switch box to make sure there's no live current. This step is non-negotiable, really.
- Identify Wires in First Switch Box:
- You'll have a cable coming from the power source (usually a 2-wire cable: black hot, white neutral, bare ground).
- You'll also have a 3-wire cable going to the second switch (black, red, white, bare ground).
- Wire the First 3-Way Switch:
- Connect the bare copper (ground) wires together and to the green ground screw on the switch.
- Connect the black hot wire from the power source to the common terminal (the odd-colored screw) on the first 3-way switch.
- Connect the black and red wires from the 3-wire cable (these will be your travelers) to the two remaining traveler terminals on the first switch. The white wire from this 3-wire cable will be used as a neutral traveler, but it will be marked with black tape at both ends to show it's hot.
- Identify Wires in Second Switch Box:
- You'll have the 3-wire cable coming from the first switch (black, red, white/taped black).
- You'll also have a 2-wire cable going to the light fixture (black switched leg, white neutral, bare ground).
- Wire the Second 3-Way Switch:
- Connect the bare copper (ground) wires together and to the green ground screw on the second switch.
- Connect the black and red wires from the 3-wire cable (the travelers) to the two traveler terminals on the second switch.
- Connect the black wire from the 2-wire cable going to the light fixture (the switched leg) to the common terminal on the second 3-way switch.
- Wire the Light Fixture:
- Connect the white neutral wires from both cables in the light fixture box together.
- Connect the black switched leg wire from the second switch to the black wire of the light fixture.
- Connect all bare copper (ground) wires together and to the light fixture's ground screw.
- Connect Neutrals: In both switch boxes, you'll have white neutral wires. These should be connected together with a wire nut, forming a continuous path for the neutral return. They don't connect to the 3-way switches themselves, but they must be present in the box.
- Test the Circuit: Once all connections are secure, carefully put the switches and light fixture back into their boxes. Turn the power back on at the circuit breaker. Test both switches to make sure the light turns on and off from both locations. If it doesn't work, turn the power off again and recheck your connections. It's often a simple missed connection, you know?
Important Safety Tips
Working with electricity can be dangerous if you're not careful. It’s not something to rush. Always prioritize safety when dealing with a wire diagram 3 way switch or any electrical project. A little caution goes a very long way, honestly.
- Turn Off the Power: We can't say this enough. Always, always turn off the circuit breaker before starting any work. Verify with a voltage tester.
- Use the Right Tools: Insulated tools are a must. Don't use damaged tools.
- Wear Safety Gear: Safety glasses are a good idea, just in case.
- Don't Overload Circuits: Make sure your wiring can handle the load.
- Consult a Professional: If you're unsure at any point, it's better to call a licensed electrician. There's no shame in asking for help, especially with something as important as electricity.
Choosing the Right Wire and Tools
When you're working on a wire diagram 3 way switch, having the right materials and tools makes all the difference. You want good quality wire and reliable tools to get the job done right and safely. As we often say on our site, choosing the right wire and cable is key for residential, commercial, and industrial projects. You want something that will last, really.
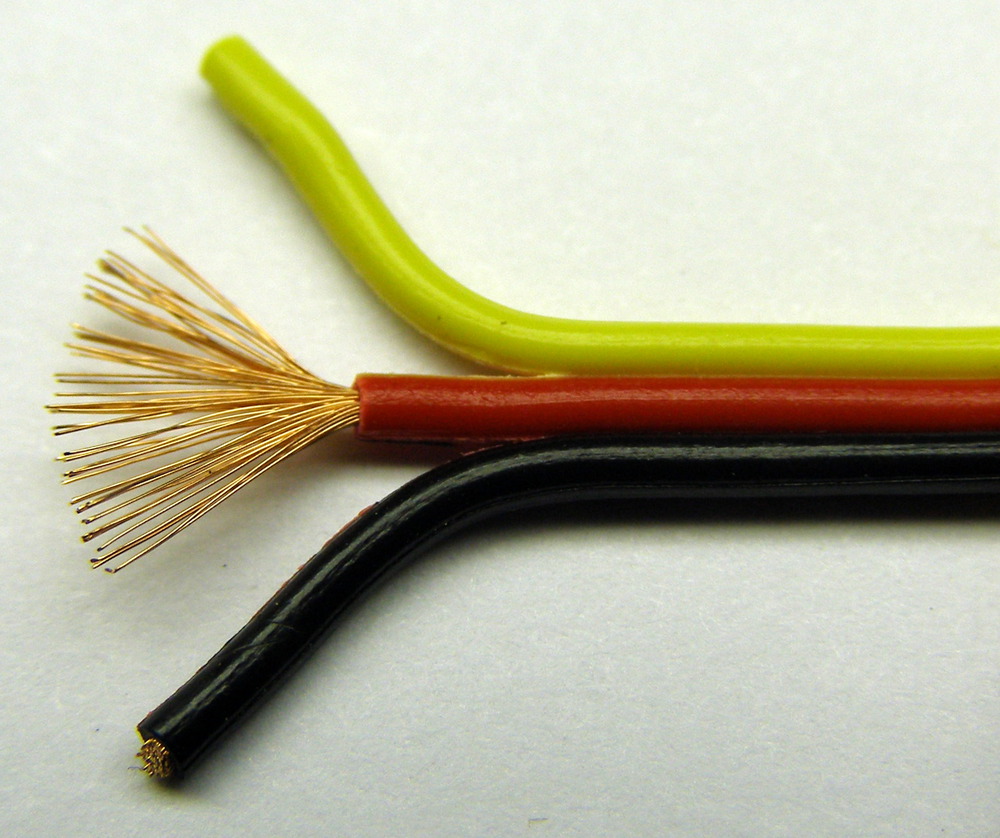
- Wire Type: For most residential lighting circuits, you'll typically use 14-gauge or 12-gauge non-metallic (NM) cable, often called Romex. The gauge depends on the circuit breaker size. For instance, a 15-amp circuit uses 14-gauge, and a 20-amp circuit uses 12-gauge. We offer a variety of spool sizes from 25 to 500 feet, so you can get just what you need.
- Wire Features: Look for wire that is flexible and abrasion-resistant. For extreme environments, something like PTFE insulated high temperature wire features flexible abrasion resistant wire. For general use, stranded and solid and hookup wire UL1007 are good choices.
- Tools: You'll need wire strippers, needle-nose pliers, a screwdriver set (Phillips and flathead), a voltage tester, and wire nuts. Having a good, sturdy pair of side cutters is also very useful.
- Other Supplies: You'll also need the 3-way switches themselves, an electrical box (if you're adding a new one), and a cover plate.
We’re your single source for residential, commercial, and industrial wire and cable. You can choose from our selection of wire and cable, metal, rope, wire rope, chain, and fittings, and more. We often have same and next day delivery, so you can get your project going quickly, which is pretty convenient, you know?
Common Questions About 3-Way Switches
People often have similar questions when they're trying to figure out a wire diagram 3 way switch. It’s totally normal to wonder about the specifics. Here are some of the most asked questions, which might help clear up any confusion you have, too.
Can you wire a 3-way switch with only 2 wires?
No, you really can't. A true 3-way switch setup needs at least three wires between the two switches: two traveler wires and one ground wire. If you only have two wires, you might be looking at a single-pole switch setup or a different kind of circuit. You just need those travelers to make the magic happen, you know?
What wires go where on a 3-way switch?
On a 3-way switch, you'll connect the hot wire (from the power source) or the switched leg wire (going to the light) to the common terminal. The two traveler wires connect to the two other terminals, which are usually brass-colored. The bare copper or green wire is the ground, and it connects to the green screw. It's a bit like a puzzle, but each piece has its place, apparently.
What is the common wire on a 3-way switch?
The common wire is the one that connects to the common terminal, which is usually a darker colored screw on the switch. On the first 3-way switch, this common wire is the hot wire coming from your electrical panel. On the second 3-way switch, this common wire is the switched leg that goes directly to the light fixture. It's the wire that carries the main power path through the switch, so it's very important to identify it correctly, as a matter of fact.
Troubleshooting Your 3-Way Switch
Even with a clear wire diagram 3 way switch, sometimes things don't work right away. Don't worry, it happens to everyone. Most problems are simple to fix if you know what to look for. It's often just a loose connection or a misidentified wire, so don't get discouraged, you know?
- No Power: Check your circuit breaker. Is it tripped? If so, reset it. Also, make sure the power is actually reaching the first switch box.
- Light Stays On/Off: This often means the common wire is connected to a traveler terminal, or vice versa. Double-check your common terminal connections on both switches. This is a very common mix-up, actually.
- Only One Switch Works: This also points to incorrect traveler or common wire connections. Go back to your diagram and verify each wire's path. Sometimes, just re-tightening a screw can fix it.
- Flickering Light: This could be a loose connection anywhere in the circuit, or perhaps the wrong type of bulb. Make sure all wire nuts are secure.
- No Ground: Ensure all ground wires are connected properly to the switches and the box. This is a safety issue, not just a functionality one.
Remember to always turn off the power before troubleshooting. It’s the safest way to approach any electrical issue. You can learn more about electrical safety on this page on our site, which is pretty useful.
Making Your Home Smarter with 3-Way Switches
Once you understand the wire diagram 3 way switch, you've got a solid foundation for more advanced home improvements. This basic knowledge can help you with smart home devices that use 3-way setups, too. Many smart switches are designed to replace traditional 3-way switches, giving you app control or voice control over your lights, which is pretty cool. It’s just another step in making your home work better for you, you know?
Understanding how these switches work opens up a lot of possibilities for making your home more convenient and efficient. It's a skill that pays off in daily living, providing simple control over your lighting. So, go ahead, take your time, and get those lights working from two spots. It's a very satisfying project, actually.

Detail Author:
- Name : Dewayne Greenfelder
- Username : ana.reynolds
- Email : cbartoletti@yahoo.com
- Birthdate : 1979-04-27
- Address : 1549 Gaylord Shoal Pagacport, IA 55697
- Phone : 1-341-638-2759
- Company : Keeling-Crist
- Job : Orthotist OR Prosthetist
- Bio : Et voluptatibus sit eos possimus voluptas consequatur quos omnis. Beatae aut accusantium rerum tempore totam tempora saepe cum. Voluptas et incidunt voluptatem veniam.
Socials
twitter:
- url : https://twitter.com/cassin1974
- username : cassin1974
- bio : Quaerat voluptatibus qui eveniet sint dolor. Accusantium minus nobis alias. In praesentium sed accusamus mollitia maxime sed beatae unde.
- followers : 4943
- following : 146
linkedin:
- url : https://linkedin.com/in/salma4383
- username : salma4383
- bio : Libero facilis consequatur quisquam dolorem id.
- followers : 5547
- following : 411
