
Have you ever felt that little pull to create something, maybe a picture of a creature that just captures your attention? So, for many folks, the alligator, with its ancient look and powerful presence, truly sparks that kind of interest. Learning to create an alligator drawing outline can feel like a big step into the world of animal art, and it's actually a lot more approachable than you might think.
This guide is here to walk you through the process, making it easy to put pencil to paper and bring one of these amazing animals to life, even if it's just a simple shape at first. We will look at how to break down the alligator's form into basic shapes, which makes the whole drawing process much less daunting. You'll find that with a few simple lines, you can capture the very essence of this creature.
We will cover everything from getting your materials ready to putting those initial lines down, and then refining them into a clear alligator drawing outline. This way, anyone, whether you are just starting out or have drawn a bit before, can feel good about what they create. It's about having fun and seeing what you can do, you know?
Table of Contents
- Why Alligators Capture Our Imagination
- Getting Ready to Draw: Your Simple Supplies
- Understanding the Alligator's Basic Shapes
- Step-by-Step Guide to Your Alligator Drawing Outline
- Tips for Making Your Alligator Outline Stand Out
- Common Questions About Drawing Alligators
- Beyond the Outline: What Comes Next?
- Wrapping Up Your Alligator Drawing Adventure
Why Alligators Capture Our Imagination
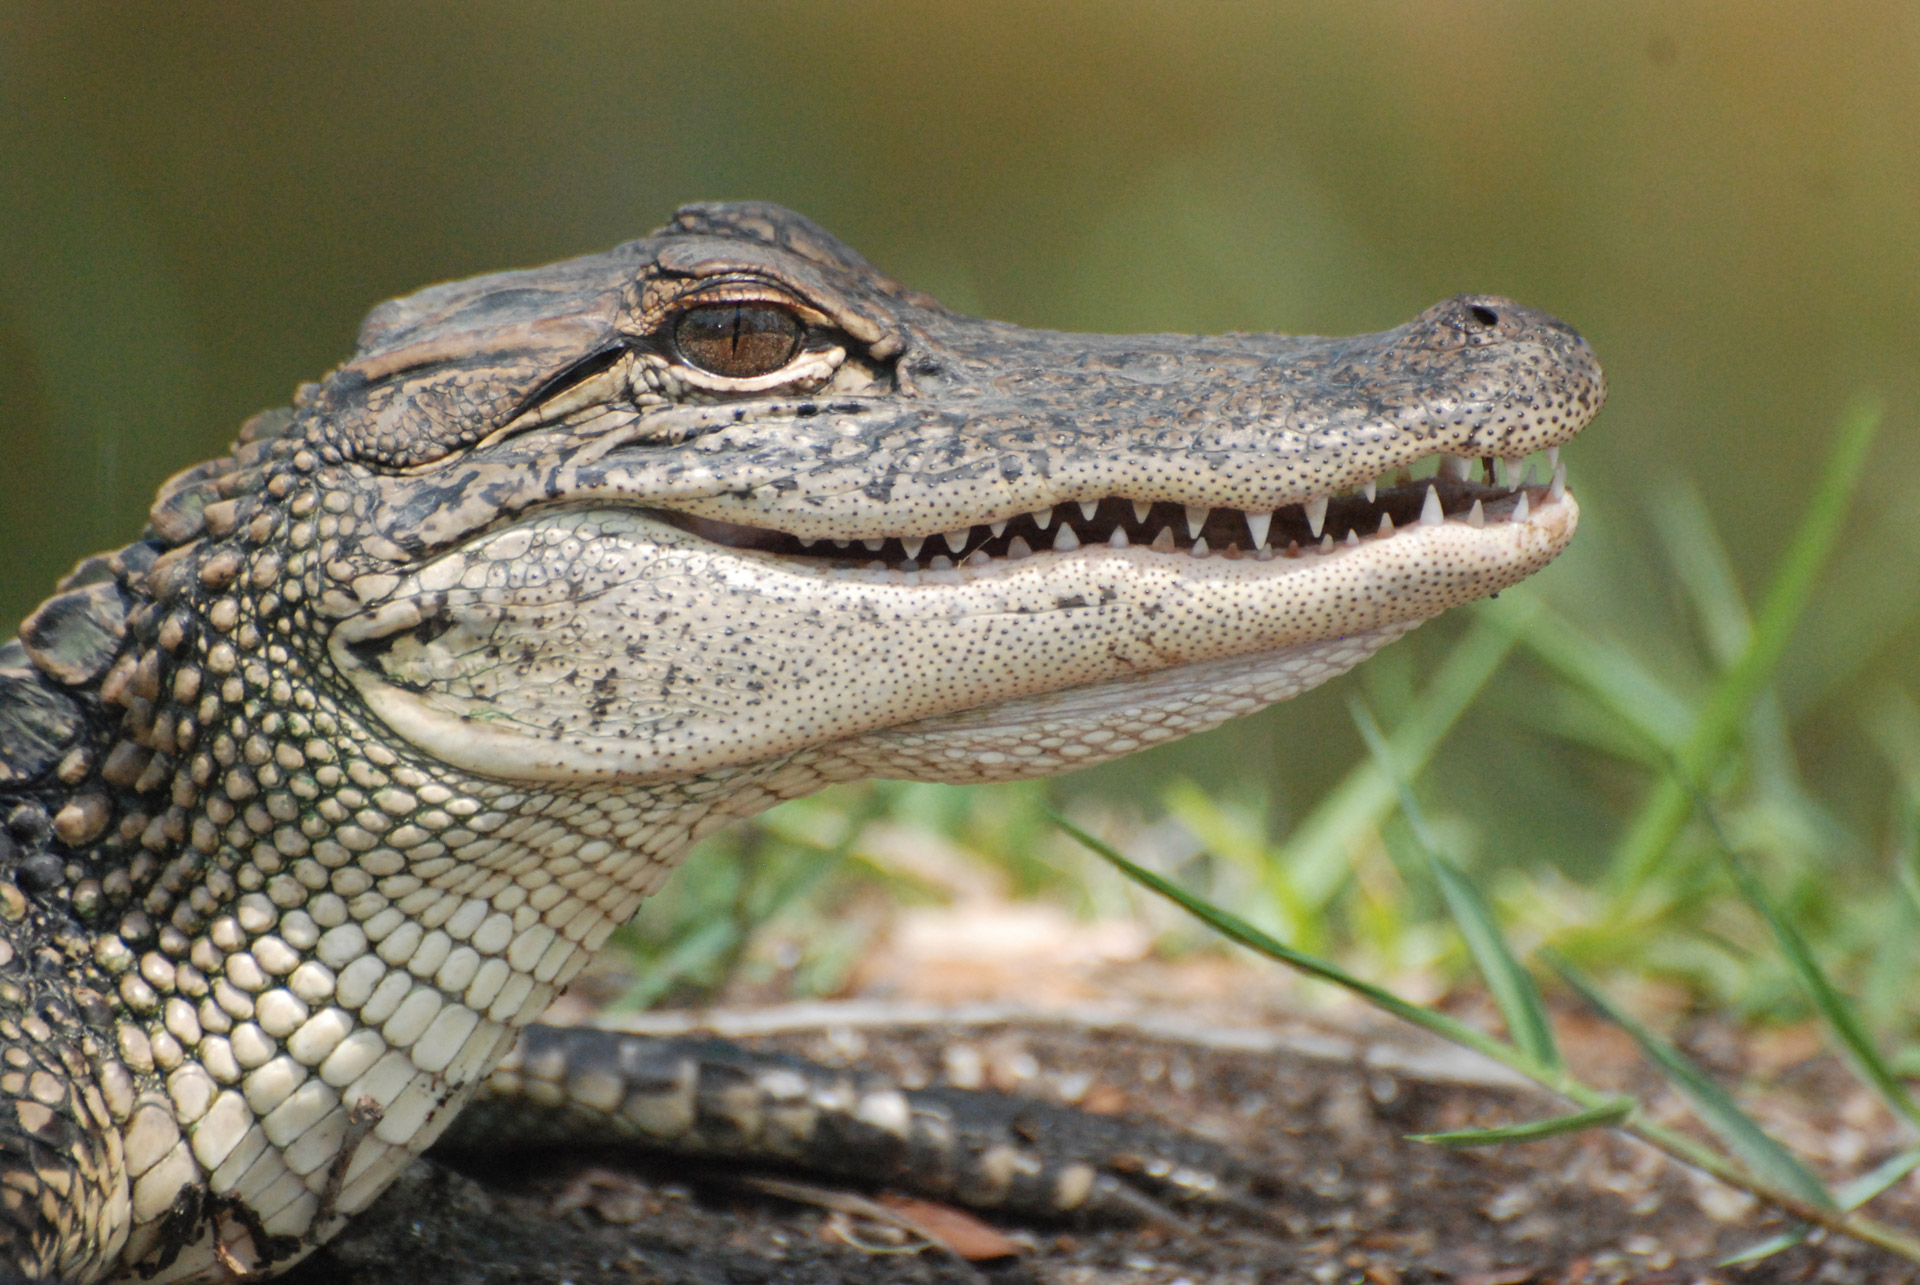
Alligators, truly, are just fascinating creatures, aren't they? They hold a certain kind of appeal for both children and grown-ups, which is that. Think about places like Bayou Pierre Alligator Park in Natchitoches, Louisiana, where people can go and see them up close. The fact that alligators actually live in places like Louisiana really adds to the attractions you can find when you visit, so it's a big draw for many.
People often share stories about seeing these animals in the wild. For instance, a doctor I work with honestly swears up and down that he saw the biggest alligator of his life near Maumelle, Arkansas. Other folks have mentioned seeing them further north too, which is quite something. There was even a report from a very good source about a 2.5-foot long gator caught while night fishing on Lake Conway just a few days ago. These stories, you know, they really show how much these animals are a part of our world, particularly in the southern states.
The presence of these animals in different regions, like central Arkansas being about the northern edge for them, really makes them a topic of conversation. It's why people might even look for private lake access for the alligator season, as it's a dream for some, a kind of bucket list item, actually. This deep interest in alligators makes them a wonderful subject for drawing. You're not just sketching a shape; you're trying to capture a bit of that wild, ancient spirit, too.
Getting Ready to Draw: Your Simple Supplies
Before you start making your alligator drawing outline, gathering a few simple items will make the whole process smoother. You don't need anything too fancy, just some basic tools. First off, grab a pencil, any regular drawing pencil will do, you know? A standard HB or a 2B is usually a good choice because it's not too dark and lets you make light sketch lines that are easy to adjust.
Next, you will want an eraser. A kneaded eraser is pretty good because it can lift graphite without smudging too much, but a regular rubber eraser works just fine, honestly. Then, get some paper. Any kind of drawing paper or even just plain printer paper will be perfectly okay to start with. The goal here is just to get comfortable with the shapes and lines, so don't feel like you need special, expensive art paper, that.
Having a clear space to work is also helpful, you might find. Make sure you have good lighting, so you can clearly see your lines as you put them down. And if you like, a ruler can be handy for drawing initial guidelines, though it's not strictly necessary for a simple outline. It's about setting yourself up for a relaxed and enjoyable drawing time, which is really what matters, in a way.
Understanding the Alligator's Basic Shapes
To draw an alligator, it helps to think of it not as a complex animal, but as a collection of simpler shapes. Breaking it down this way makes the alligator drawing outline much easier to manage, really. We'll start with the main parts: the head, the body, the tail, and the legs. Each part can be seen as a very basic geometric form, which we then connect and refine, basically.
The Head: A Long Wedge
The alligator's head is, in some respects, like a long, somewhat flattened wedge or a very elongated triangle. It's wide at the back where it meets the body and then tapers down towards the snout. This shape is really important for getting that distinctive alligator look. It's not just a simple box, but has a slight curve and a gradual narrowing, you know?
The Body: A Stretched Oval
The main part of the alligator's body can be thought of as a long, somewhat flattened oval or a stretched bean shape. It's wider in the middle and then narrows a bit towards both ends, where the head and tail attach. This oval will be the foundation for the alligator's bulk and length, and it's a good place to start your drawing, too it's almost.
The Tail: A Powerful Taper
The alligator's tail is quite long and very strong, tapering from where it joins the body all the way to a point. It's like a very long, thick cone that gets thinner and flatter as it goes further out. This tail is a key part of the alligator's outline, giving it balance and a sense of movement, as a matter of fact. It's often nearly as long as the body, if not longer.
Legs: Short but Strong
The legs of an alligator are relatively short compared to its body, but they are quite sturdy. They stick out from the sides of the body. You can initially sketch them as simple rectangles or thick lines that connect to the main body shape. There are two at the front and two at the back, of course. Thinking of them this way helps you place them correctly without getting bogged down in too much detail right away.
Step-by-Step Guide to Your Alligator Drawing Outline
Now that we have a good idea of the basic shapes, let's put them together to create your alligator drawing outline. Remember to draw lightly at first, using what are called "construction lines." These are lines you can easily erase later as you refine your drawing. It's all about building up the picture gradually, you see.
Step 1: Laying Down the Core Forms
Start by drawing the stretched oval for the body. Make it fairly long across your paper. Then, for the head, draw that long wedge shape at one end of the oval. Make sure it connects smoothly to the body. For the tail, draw a long, tapering shape extending from the other end of the body oval. This tail should be pretty thick where it starts and then get thinner towards the tip, you know? These are your main guides.
Step 2: Connecting the Main Sections
Once you have your basic shapes, it's time to connect them. Smooth out the lines where the head meets the body and where the tail meets the body. You want to make these transitions look natural, not like separate pieces just stuck together. Think about how the alligator's skin would flow from one part to the next. This step starts to make your alligator drawing outline look more like an actual creature, which is pretty cool.
Step 3: Shaping the Snout and Lower Jaw
Now, let's focus on the head. Refine the wedge shape to create the distinct snout and lower jaw. The top of the snout is relatively flat, and the lower jaw runs parallel to it for most of its length. You might want to add a slight curve to the top of the snout, near where the eyes will go. This gives the head a more realistic profile, apparently.
Step 4: Placing the Eyes and Nostrils
The eyes of an alligator are set fairly high on its head, almost like little bumps. Draw two small circles or ovals for the eyes, positioned towards the back of the snout, closer to the body. Then, at the very tip of the snout, draw two small bumps or slits for the nostrils. These features are quite important for making your alligator recognizable, you know, as a matter of fact.
Step 5: Defining the Body and Tail
Go back to the body and tail. Refine the outline of the stretched oval, making it a bit more angular in places, suggesting the strong muscles underneath. For the tail, really emphasize that powerful taper. Alligators have those large, scaly ridges running down their backs and tails, so you can hint at those by making the top line of the tail slightly jagged or bumpy. This adds a lot of character to your alligator drawing outline, basically.
Step 6: Sketching the Limbs and Feet
Now, let's add the legs. Draw two short, thick shapes extending from the sides of the body near the front, and two more near the back. These should look sturdy. For the feet, alligators have webbed feet with claws. You can represent these with simple, somewhat splayed shapes at the end of each leg. Don't worry about drawing every single toe or claw just yet; a simple outline is enough for now, you know?
Step 7: Refining Your Outline
This is where you clean up your drawing. Use your eraser to gently remove all those initial light construction lines. Go over your main outline with a slightly firmer hand, making your final lines clearer and more confident. You can also add very subtle details, like the slight bumps along the back or a hint of where the scales might be, just to give your alligator drawing outline more life. It's like putting the finishing touches on a good story, you know?
Tips for Making Your Alligator Outline Stand Out
Once you have your basic alligator drawing outline down, there are a few simple things you can do to make it look even better. These tips help add a bit more character and believability to your drawing, making it truly yours. It's about paying attention to some small but impactful details, honestly.
Getting Proportions Just Right
One of the biggest things that makes a drawing look right is getting the sizes of the parts in relation to each other. For an alligator, the head is a certain size compared to the body, and the tail is quite long, often nearly as long as the head and body combined. Take a moment to look at your drawing and see if the parts feel balanced. Is the head too small or too big for the body? Is the tail long enough? Adjusting these things just a little can make a huge difference, that.
Suggesting Movement and Life
Even a simple outline can suggest that the alligator is moving, or at least capable of moving. Instead of drawing it perfectly straight, try adding a slight curve to the body or tail. Maybe one leg is slightly forward, suggesting a step. This subtle bend can give your alligator drawing outline a lot more life and energy, making it feel less stiff and more like a real animal, you know, in a way.
Hinting at Texture and Scales
Alligators have tough, bumpy skin with lots of scales. Even in an outline, you can hint at this texture. Along the back and tail, you can add some small, irregular bumps or zig-zag lines to suggest the scutes, which are those bony plates on their skin. You don't need to draw every single scale, but just a few well-placed marks can give the impression of that rough, protective covering. This really helps to sell the idea of it being an alligator, too it's almost.
Common Questions About Drawing Alligators
When people start to draw alligators, some questions come up pretty often. Let's look at a few of those, because knowing the answers can help you feel more confident about your own drawing efforts, you know?
How do you draw a simple alligator?
Drawing a simple alligator starts with very basic shapes. Think of the head as a long, flat wedge, the body as a stretched oval, and the tail as a long, tapering shape. Connect these parts smoothly, then add simple bumps for the eyes and nostrils. This approach breaks down the animal into manageable pieces, making it quite simple to get started, you see.
What are the basic shapes for drawing an alligator?
The most basic shapes for an alligator are an elongated triangle or wedge for the head, a long oval for the body, and a long, somewhat flattened cone for the tail. The legs can be simple thick lines or rectangles. By using these fundamental forms, you can establish the main structure of your alligator drawing outline very quickly and easily, which is quite helpful.
Is drawing an alligator hard?
Drawing an alligator might seem a bit tricky at first, but it's actually not hard at all once you understand how to break it down. By focusing on the basic shapes and building your drawing step by step, you'll find it becomes much more approachable. Like learning any new skill, practice makes it feel easier and more natural over time, honestly. Many people find it quite enjoyable, too.
Beyond the Outline: What Comes Next?
Once you have a solid alligator drawing outline, you can decide what to do next. You might want to add more details, like individual scales, teeth, or even the texture of the skin. You could also think about shading your drawing to give it depth and make it look three-dimensional. Adding shadows and highlights can really bring your alligator to life, you know?
Another fun thing to do is add color. You could use colored pencils, crayons, or even paints to make your alligator vibrant. Think about the greens and browns of their natural habitat. You might also consider drawing the alligator in an environment, like in water or on a riverbank, which adds a whole story to your picture, you see. The possibilities are pretty much endless, really.
You can also use your outline as a starting point for different styles. Maybe you want to draw a cartoon alligator, or a very realistic one. The basic outline gives you a foundation for all sorts of creative directions. And remember, sharing your art can be a wonderful experience. Forums, like the one mentioned in my text where people register to post and access features, are great places to connect with others who love art and perhaps even win prizes for active participation, which is pretty cool.
Learning to draw, or just enjoying the process, is a rewarding activity. You could even explore more about these amazing animals. For example, you might look up information on wildlife conservation efforts or learn more about specific alligator attractions, such as Alligator Adventure, where residents of Horry County apparently get discounts. This kind of real-world connection can inspire your art even more. You can learn more about animal anatomy for artists on our site, and perhaps link to this page for more reptile drawing guides, if you like your art to be truly informed.
Wrapping Up Your Alligator Drawing Adventure
So, creating an alligator drawing outline is a really rewarding process that starts with simple shapes and builds up to a recognizable form. By breaking down the alligator into its basic components—the head, body, and tail—and then connecting them smoothly, you can create a strong foundation for your drawing. Remember to keep your initial lines light, allowing you to refine and adjust as you go, which is quite important.
The tips about proportions, suggesting movement, and hinting at texture can really make your alligator outline pop, giving it that extra touch of life. And don't forget that drawing is about exploration and having fun, you know? Every line you draw is a step in your creative journey. Keep practicing, and you'll see your skills grow with each new sketch, honestly.

Detail Author:
- Name : Sienna Armstrong
- Username : crona.brandt
- Email : tstark@hirthe.biz
- Birthdate : 1998-09-29
- Address : 99501 Floy Tunnel Lake Leda, MN 25507
- Phone : 858-835-0968
- Company : Zemlak-Maggio
- Job : MARCOM Manager
- Bio : Autem aperiam velit unde facilis. Iusto ut non placeat repellat aspernatur. Omnis animi dolorum error error.
Socials
facebook:
- url : https://facebook.com/eula3509
- username : eula3509
- bio : Molestias assumenda porro delectus voluptatibus beatae numquam.
- followers : 3506
- following : 232
tiktok:
- url : https://tiktok.com/@douglas2010
- username : douglas2010
- bio : Sunt a eligendi totam cum quod. Ipsa autem ut dolorum beatae saepe.
- followers : 2998
- following : 347
instagram:
- url : https://instagram.com/eula_id
- username : eula_id
- bio : Praesentium ex sequi deserunt et atque. Tempora qui similique quae commodi harum.
- followers : 5837
- following : 2798
linkedin:
- url : https://linkedin.com/in/eula_douglas
- username : eula_douglas
- bio : Rerum quia in cumque id.
- followers : 3399
- following : 196
