
Giving pine wood a new look can truly change a room's feel, and picking the right stain color for pine is a big part of that. Pine, with its unique grain and often lighter tone, really takes on new life when you add a touch of color. It's about finding that perfect shade that makes your furniture, trim, or floors shine, you know? Many folks wonder how to get that just-right finish, especially with pine's sometimes unpredictable nature.
When you think about staining wood, it's a process that changes the material itself, more or less. It's like applying a special mixture, a dye or a blend of dyes, that sinks into the wood fibers. This interaction, a chemical or physical one, gives the wood a lasting color, which is pretty cool. It’s not just painting over it; it's coloring it from within, kind of like how a fabric gets dyed. This makes the wood’s natural patterns still show through, which is a big part of its charm, obviously.
The goal is to pick a stain color that fits your style and also brings out the natural beauty of the pine. Whether you're aiming for something light and airy, a rich, deep tone, or maybe a trendy grey, there are so many possibilities. Getting it right means understanding a little about pine itself and how stains work with it. We have a large variety of interior wood stains and everything you need to complete your project, including wood oils, wood conditioners and wood stain markers, hardwood floor stain, cabinet, and stuff.
Table of Contents
- Understanding Pine Wood: Why It's Special (and a Little Tricky)
- What is Wood Stain, Anyway?
- Getting Pine Ready for Stain: The Secret to Even Color
- Popular Stain Colors for Pine: Finding Your Perfect Shade
- Applying Stain to Pine: Tips for a Great Finish
- Keeping Your Stained Pine Looking Good
- Frequently Asked Questions About Staining Pine
Understanding Pine Wood: Why It's Special (and a Little Tricky)
Pine is a favorite for many projects, and for good reason. It's pretty affordable, easy to work with, and has a nice, soft look. But, when it comes to staining, pine can be a bit of a challenge, you know? It has areas that are denser and others that are softer, which means it can absorb stain unevenly. This can lead to a blotchy appearance, with some spots looking darker than others, which is something we definitely want to avoid.
The grain patterns in pine are often quite distinct, with knots and variations that really stand out. These characteristics, while charming, can sometimes make achieving a consistent stain color a bit more involved. It's not like staining a hardwood such as oak or maple, which tend to take stain much more uniformly. Pine, because it's a softwood, has a different cell structure, and that's why it behaves the way it does, more or less.
So, understanding these quirks of pine is the first step to getting a beautiful, even finish. Knowing its tendencies helps you prepare for the staining process in a way that sets you up for success. It's about working with the wood, not against it, which is pretty much the key to any good woodworking project, I mean.
What is Wood Stain, Anyway?
When we talk about wood stain, we're really talking about a substance that colors wood by getting into its material. As my text says, it's about processes affecting chemically or otherwise the material itself. It's a dye or a mixture of dyes, often used in things like microscopy to make details show up, but for wood, it's about adding color. It’s not just a layer sitting on top; it penetrates the wood fibers, creating a color that feels like part of the wood itself, you know?
A stain is a discoloration that can be clearly distinguished from the surface, material, or medium it is found upon. They are caused by the chemical or physical interaction of two dissimilar materials. It can be unintentional, like a spilled drink, or it may be intentionally applied to create a color, design, or specific look, which is what we're doing here. Unlike paint, which covers the wood entirely, stain lets the natural grain and texture of the pine show through. This is why people choose stain over paint when they want to highlight the wood's inherent beauty, more or less.
We have a large variety of interior wood stains and everything you need to complete your project, including wood oils, wood conditioners and wood stain markers, hardwood floor stain, cabinet, and stuff. These products are designed to sink into the wood, creating a lasting color that becomes part of the material. They are caused by the chemical or physical interaction of two dissimilar materials. It can be unintentional or may be intentionally applied to create a color, design, or a certain vibe. So, in essence, staining is about infusing the wood with color while letting its true character shine through, which is a really nice effect.
Getting Pine Ready for Stain: The Secret to Even Color
Preparing pine wood correctly before you stain it is probably the most important step for getting an even, beautiful finish. If you skip this part, you're pretty much guaranteed to end up with blotches, which nobody wants, right? Pine's soft spots absorb more stain than its harder areas, leading to that splotchy look. But there are ways to prevent this, basically.
Sanding It Smooth
Start by sanding your pine piece really well. Begin with a coarser grit sandpaper, like 80 or 100, to remove any major imperfections or mill marks. Then, gradually move to finer grits, like 120, then 150, and finally 180 or 220. The goal is to get the wood surface consistently smooth. Make sure to sand with the grain of the wood, never against it, because cross-grain scratches will really show up once you apply the stain, and that's not ideal, honestly.
After each sanding step, it's important to wipe down the wood thoroughly to remove all the dust. A tack cloth works really well for this, or you can use a damp cloth followed by a dry one. Any dust left on the surface can get trapped under the stain, making for a less-than-perfect finish. This step might seem a bit tedious, but it makes a huge difference in the final look, at the end of the day.
The Magic of Wood Conditioner
This is where the real secret to staining pine comes in: wood conditioner. Applying a pre-stain wood conditioner is absolutely essential for pine. This product helps to seal off the more porous areas of the wood, allowing the stain to be absorbed more evenly across the entire surface. It's like giving the wood a more uniform drinking ability, if that makes sense, so it doesn't just gulp down the stain in some spots and barely sip in others.
Apply the wood conditioner according to the product's instructions, usually by wiping it on liberally and letting it soak in for a specific amount of time, typically 5 to 15 minutes. Then, wipe off any excess before it dries completely. You need to apply your stain within a certain window after conditioning, usually within two hours, so be ready to go once the conditioner is on. This step, seriously, is what separates a professional-looking stain job from a splotchy one on pine, so don't skip it.
Popular Stain Colors for Pine: Finding Your Perfect Shade
Choosing the right stain color for pine is where your personal style really gets to shine. There are so many options, and each one can give your pine project a totally different feel. What looks good on one piece of wood might not be what you want for another, so it's good to think about the overall vibe you're going for, you know?
Light and Airy Shades
Light stains really allow the natural beauty and grain of pine to show through. They can make a room feel bigger and brighter, which is pretty nice. Think about whitewash or very light grey stains. These options offer a contemporary, beachy, or even Scandinavian look. A natural or clear stain, for instance, simply enhances the pine's existing color without adding much pigment, which is great if you love the raw look of the wood. A very light oak or maple tone can also work well, giving just a hint of color without overpowering the wood's character, more or less.
These lighter shades are often chosen for furniture that you want to feel less heavy, or for spaces where you're aiming for a fresh, open atmosphere. They tend to highlight the knots and imperfections in pine, which can be a charming feature for some, but something to consider if you prefer a very uniform appearance. They are pretty popular right now, actually, especially for modern farmhouse or minimalist designs.
Warm and Classic Tones
If you're looking for something timeless and inviting, warm and classic stain colors are a solid choice for pine. Shades like Early American, Golden Oak, or Pecan can give pine a rich, traditional look. These colors often bring out the golden undertones in pine, making it feel cozy and welcoming. They are incredibly versatile and work well in many different decor styles, from rustic to more traditional settings, obviously.
These mid-range browns and ambers tend to blend well with other wood tones in a room, creating a cohesive feel. They offer a good balance between showing off the wood grain and adding a distinct color. For example, a stain that leans a bit more reddish, like a cherry or mahogany tone, can add a touch of elegance to pine furniture. They are, in a way, a safe bet for a universally appealing finish, and stuff.
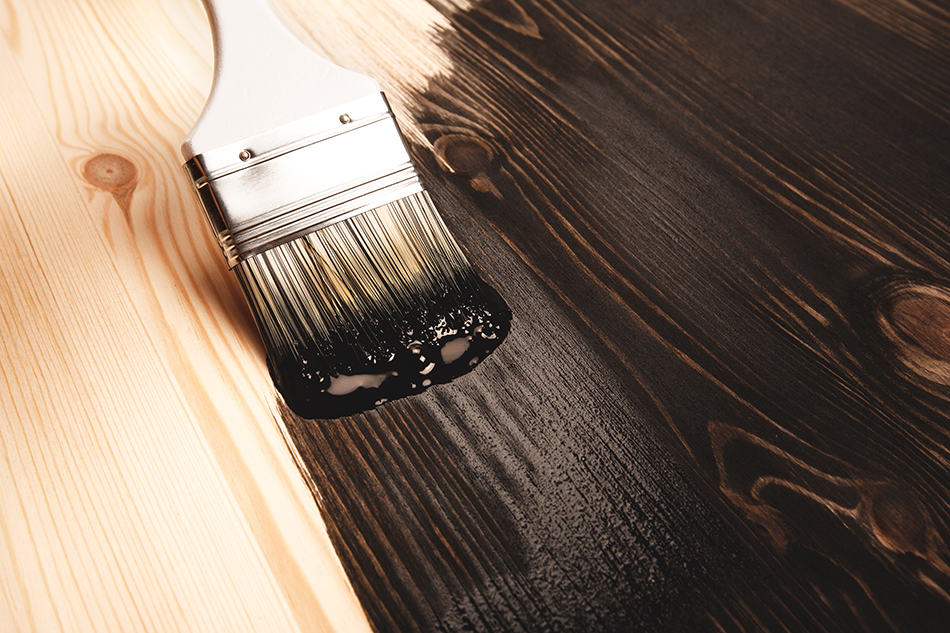
Deep and Dramatic Colors
For a bolder statement, deep and dramatic stain colors can transform pine into something truly striking. Darker browns like Walnut, Dark Walnut, or even Espresso can give pine a sophisticated and substantial appearance. These shades tend to minimize the appearance of pine's prominent grain and knots, offering a more uniform and luxurious look. They are often chosen for larger pieces of furniture or for rooms where you want to create a sense of warmth and depth, you know?
Applying darker stains to pine requires a bit more care with conditioning to avoid blotching, as any uneven absorption will be more noticeable. However, when done right, the effect can be absolutely stunning. A very dark stain can make pine mimic the look of more expensive hardwoods, which is pretty cool. They can really ground a space and provide a beautiful contrast to lighter walls or fabrics, making everything feel very intentional.
Trendy and Modern Options
Beyond the traditional, there are several trendy stain colors that look fantastic on pine, offering a more contemporary feel. Grey stains, for instance, have been very popular for a while now. They offer a muted, sophisticated look that works well with modern, industrial, or even shabby chic styles. There are various shades of grey, from light, almost white-grey to deeper charcoal tones, so you can really customize the effect, more or less.
Another popular option is a whitewash or pickling stain, which gives pine a semi-transparent white finish while still letting the wood grain show through. This creates a soft, airy, and somewhat distressed look that's perfect for coastal or farmhouse decor. Sometimes, people even layer a light grey over a natural conditioner to get a unique, weathered appearance. These modern choices allow for a lot of creativity and can really update the look of any pine piece, basically.
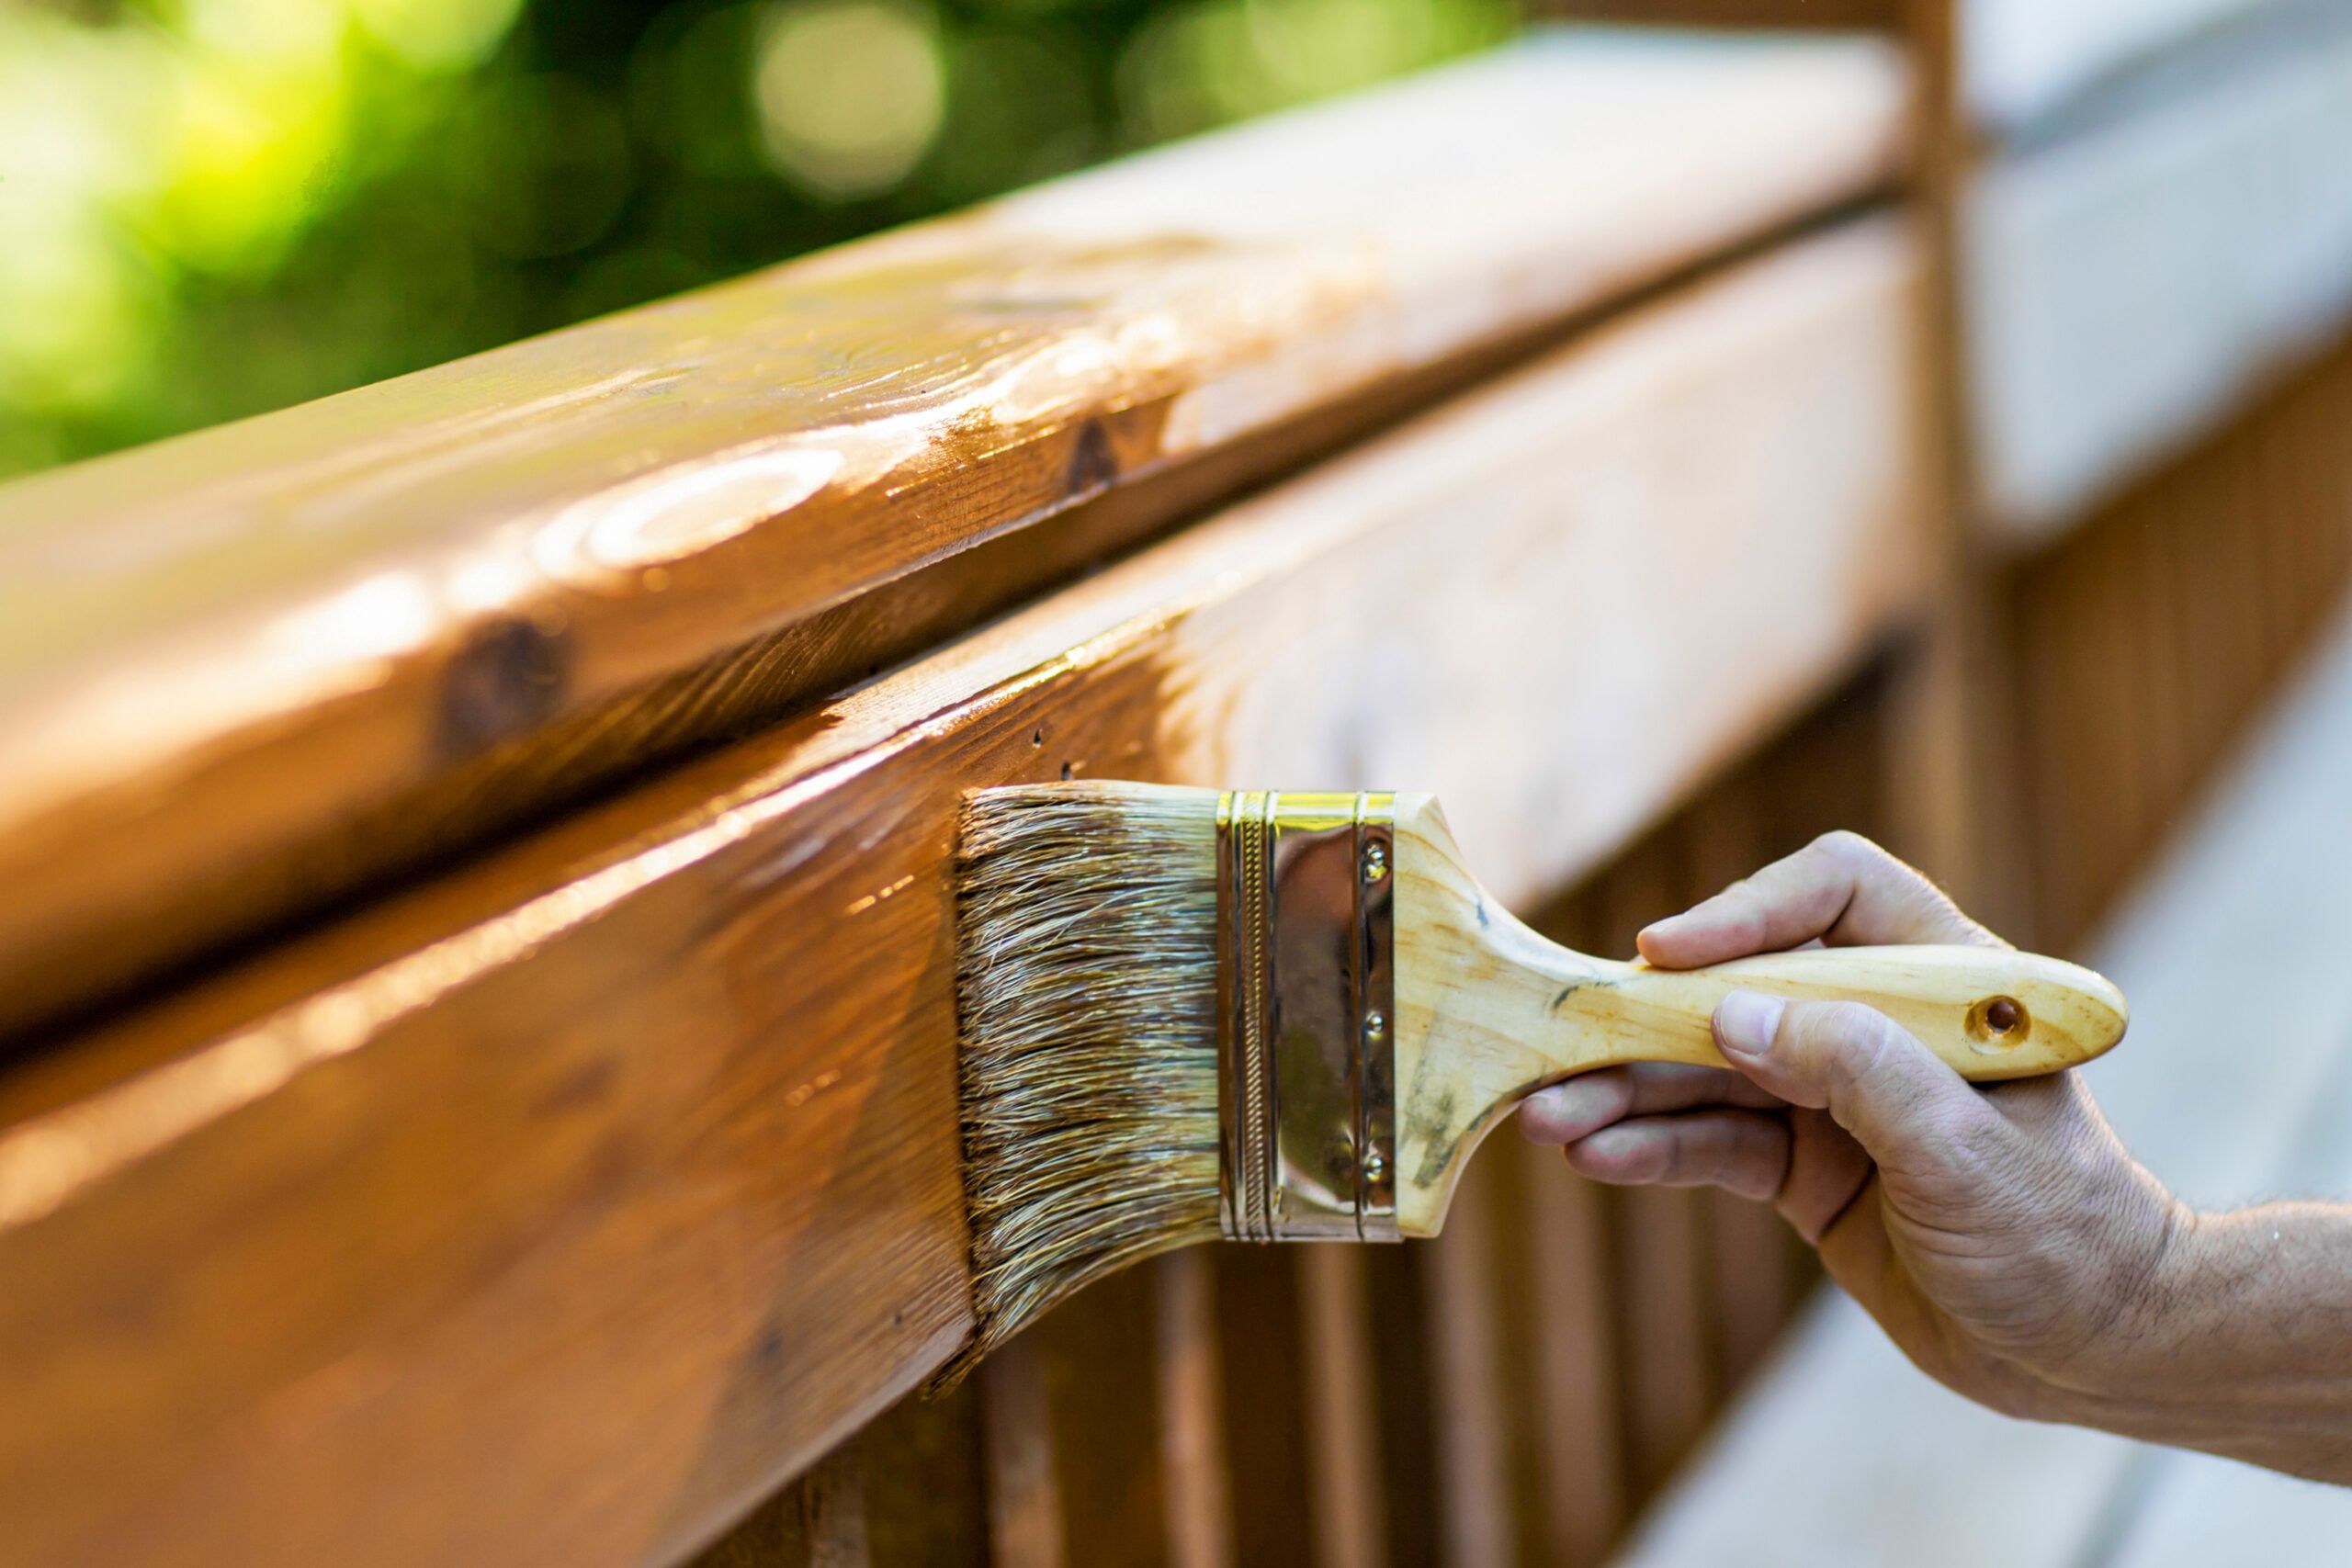
Applying Stain to Pine: Tips for a Great Finish
Once your pine is perfectly prepped and you've picked your stain color, it's time for the actual application. This part is pretty straightforward, but a few tips can make all the difference for a smooth, even finish. Remember, the goal is to get that beautiful, consistent color, so taking your time is key, you know?
Always apply stain in a well-ventilated area. Use a good quality brush, foam applicator, or a clean rag. Apply the stain in the direction of the wood grain, working in small sections. Don't try to cover too large an area at once, especially with pine, as it absorbs quickly. This helps you maintain control and wipe off excess before it dries too much. The trick is to apply enough stain to saturate the wood but not so much that it pools on the surface, which can lead to uneven drying and dark spots, honestly.
After applying the stain to a section, let it sit for the recommended time on the product label – usually a few minutes. Then, with a clean, dry rag, wipe off all the excess stain, again, going with the grain. If you leave too much stain on, it won't dry properly and can create a sticky mess. For a deeper color, you can apply a second coat after the first one has dried completely, typically 4-6 hours, or as the product suggests. Always test your stain color on a scrap piece of pine first to see how it will look and to practice your application technique. This is, in a way, a crucial step to avoid surprises.
Once your stain is dry, it's highly recommended to apply a protective topcoat. This could be a polyurethane, lacquer, or a clear varnish. The topcoat not only protects the stained surface from wear and tear, moisture, and scratches but also adds a bit of depth and sheen to the color. It's like putting a clear shield over your beautiful work. Make sure the stain is completely cured before applying the topcoat; this can sometimes take 24-48 hours, depending on the stain type and humidity. Learn more about wood finishing basics from a trusted source, and stuff.
Keeping Your Stained Pine Looking Good
After all that effort picking the perfect stain colors for pine and applying them, you'll want to keep your beautiful work looking fresh for a long time. The good news is, maintaining stained pine is pretty simple, especially if you've applied a good protective topcoat. Regular cleaning is the main thing, you know?
For everyday cleaning, a soft, damp cloth is usually all you need. Avoid using harsh chemical cleaners, as these can dull the finish or even damage the topcoat over time. If there's a spill, wipe it up quickly to prevent it from soaking into the wood or leaving a mark, which is pretty important. For furniture, using coasters under drinks and placemats for hot dishes can also help protect the surface from heat and moisture rings, which are definitely a pain to deal with.
Over many years, if your stained pine piece sees a lot of use, the topcoat might start to show some wear. You can usually refresh it by lightly sanding the existing topcoat and applying a new layer. This isn't something you'll need to do often, but it's good to know it's an option for keeping your pine looking its best. For more ideas on refreshing your home, you can Learn more about home improvement on our site, and also link to this page for other helpful tips. Basically, a little care goes a long way in preserving the beauty of your stained pine.
Frequently Asked Questions About Staining Pine
Got more questions about staining pine? Here are some common ones people often ask, you know.
Does pine wood take stain well?
Pine can take stain well, but it needs proper preparation. Because it's a softwood with varying densities, it has a tendency to absorb stain unevenly, which can result in a blotchy look. Using a pre-stain wood conditioner is really important to help the wood absorb the stain more consistently, leading to a much better, more uniform finish, honestly.
What is the best way to prepare pine for staining?
The best way to prepare pine involves thorough sanding and then applying a wood conditioner. Start with medium-grit sandpaper and gradually move to finer grits until the surface is smooth. After sanding, clean off all dust. Then, apply a pre-stain wood conditioner according to its directions. This step helps to control how the pine absorbs the stain, which is pretty much the key to avoiding blotches, at the end of the day.
Can you stain pine light or dark?
Absolutely, you can stain pine both light and dark. Pine is quite versatile. For lighter looks, consider whitewash, natural, or light grey stains. For darker, more dramatic finishes, shades like walnut, espresso, or dark cherry work very well. The final color will also depend on the number of stain coats you apply, so you have a lot of control over the depth of the shade, basically.

Detail Author:
- Name : Prof. Gilberto Reilly
- Username : ramiro76
- Email : yesenia.connelly@runolfsdottir.com
- Birthdate : 1976-11-16
- Address : 379 Valentine Junction Roscoeland, NM 04655
- Phone : +1.484.761.7140
- Company : Macejkovic-Mraz
- Job : Central Office Operator
- Bio : Et rerum quo nam harum id soluta provident. Expedita blanditiis earum ad omnis sit sed. Necessitatibus voluptatem unde nihil. Officiis dolore non nam quasi velit tempore provident et.
Socials
instagram:
- url : https://instagram.com/laurianne_auer
- username : laurianne_auer
- bio : Qui atque nisi sed dolores aut inventore. Delectus velit praesentium vero beatae.
- followers : 5360
- following : 2743
facebook:
- url : https://facebook.com/laurianne_real
- username : laurianne_real
- bio : Sapiente odit et eius accusantium architecto sequi.
- followers : 412
- following : 1438
tiktok:
- url : https://tiktok.com/@laurianne_auer
- username : laurianne_auer
- bio : Et est voluptatibus id quia ut nulla voluptas.
- followers : 6600
- following : 1880
